Everyone needs a good brownie recipe. This is by far, hands down, my favorite. This recipe brings back fond memories because my mom always made these for us growing up (a slightly different and easier recipe which I will share with you). Truly, this was one of our favorite after school treats. There is nothing like coming home from school and having these waiting for you. After sharing these brownies with a few friends this past week and taking them to a tailgate party, I would say that many of you wouldn't mind these waiting for you when you walk in the door from a long day at school or work.
A good brownie is moist, rich and dense as it melts in your mouth. They are for me a food that, if around, I will eat. I just can't resist them. Because of this, I give most of them - not all - away to good friends. I know, it's crazy isn't it. I give away one of my favorite foods. It's either that or live with it on my thighs for a very long time. I'm not sure which is worse...

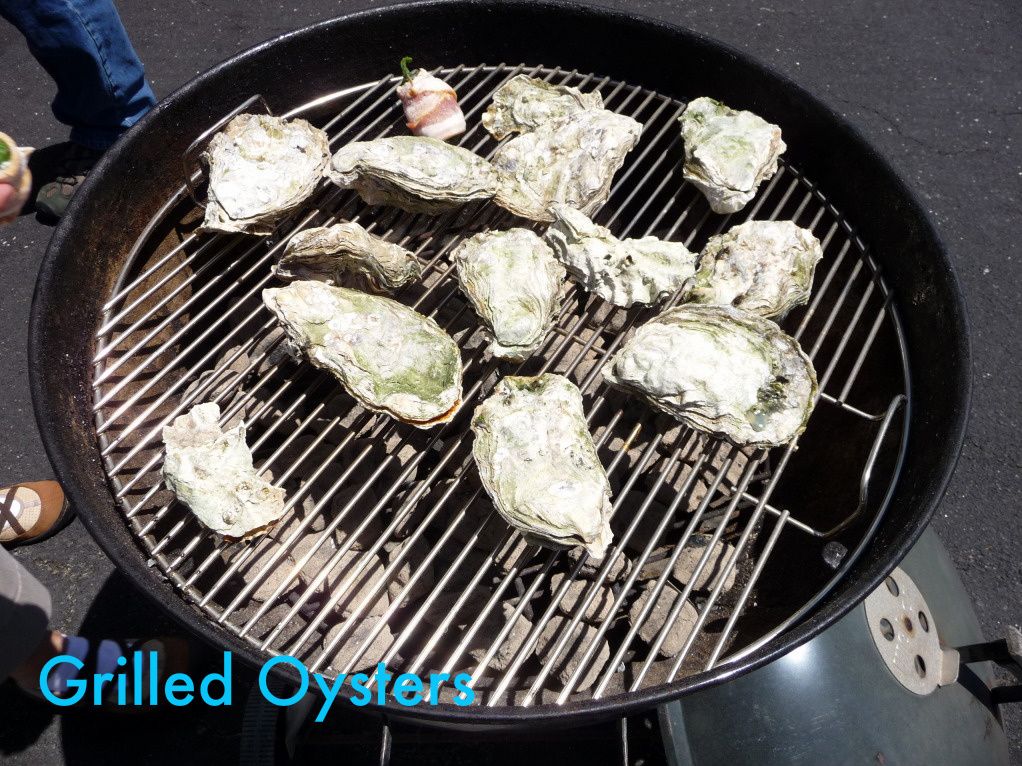
As I mentioned before, my husband and I were invited to a tailgate party last Saturday prior to watching the Oakland A's play the San Francisco Giants. We had a great time and enjoyed some great food and company before the game. Needless to say, we rolled into the stadium with full bellies. I told (or should I say, demanded!?) my husband before we got to the tailgate party that I wanted to get some garlic fries at the concession stand during the game. I mean, what is a baseball game without some grilled or fried food from the stands, whether it's a hot dog, gourmet sausage dog or garlic fries, and boy do I love their garlic fries. Sadly they're the main reason I enjoy going to the games. But I must say, this time I was so full and satisfied by all the great food we had tailgating that I wasn't even tempted by the garlic smell wafting through the air. Not to mention that I really enjoyed watching the game.

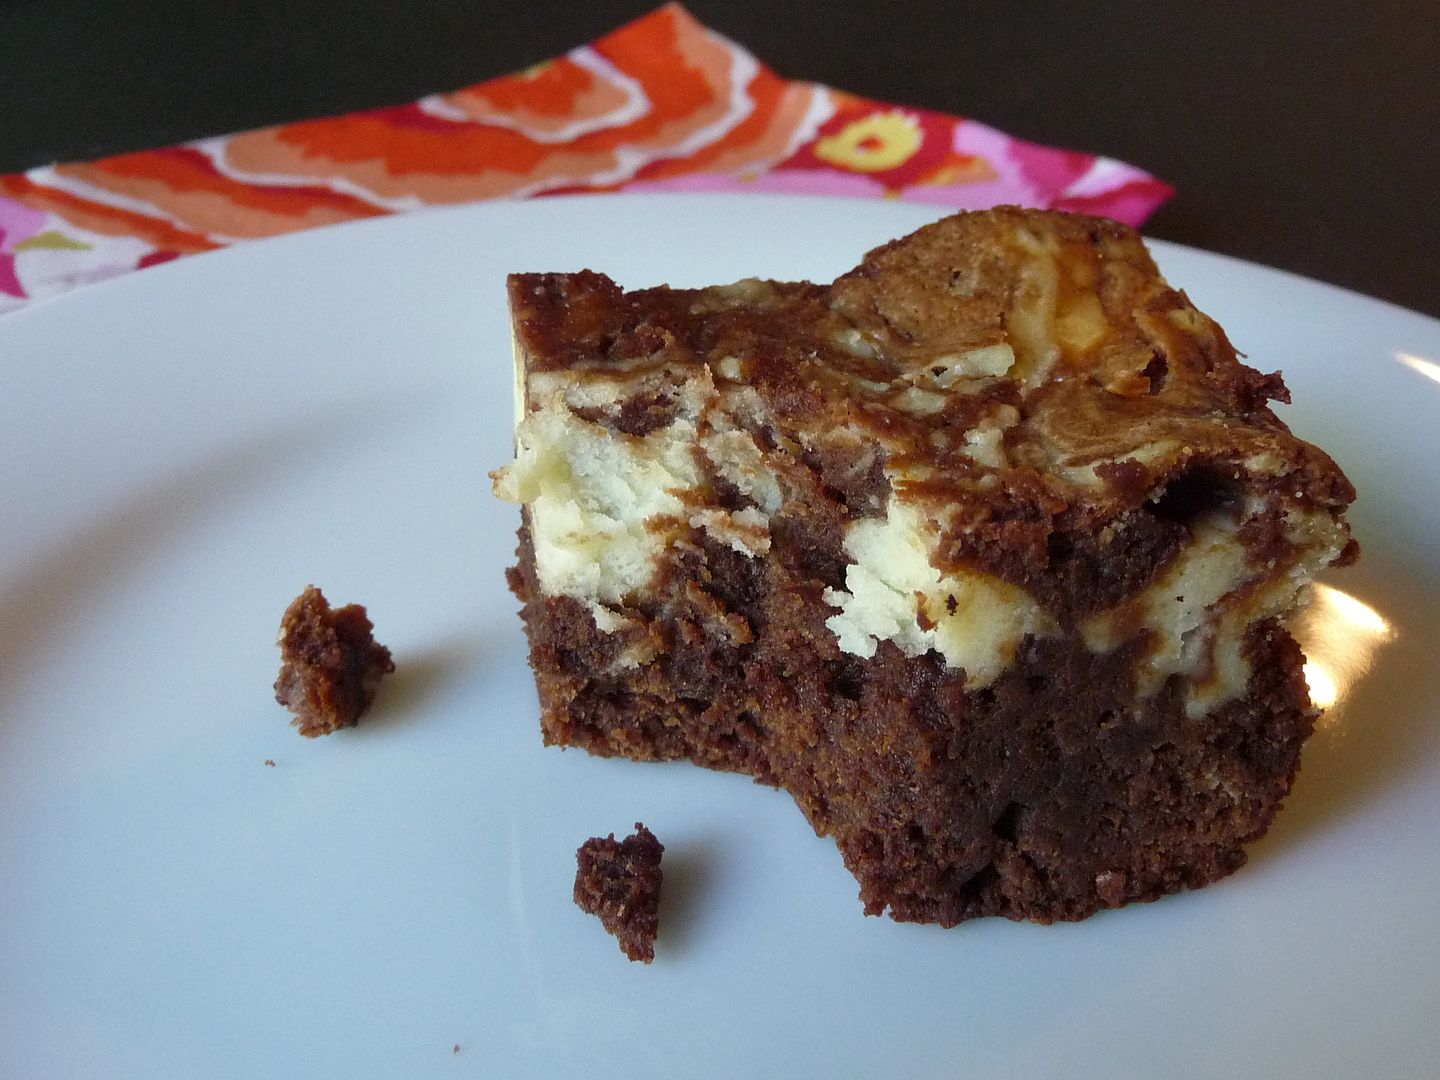
I have included two brownie recipes below. One is totally homemade, but more labor intensive (see picture at beginning). The other is from a box mix and if you're under a time crunch, is faster and delicious as well - these I grew up with. In my baking quest though I wanted to develop a totally homemade brownie that could rival any box mix and make it even better. I think this recipe did the trick. If you need a dessert and are short on time, the quick mix below will be the one for you.
Cream Cheese Brownies
Brownie Mixture: (adapted from Cook's Illustrated)
1 1/4 cups cake flour
1/2 teaspoon salt
3/4 teaspoon baking powder
6 ounces unsweetened chocolate, finely chopped
12 tablespoons unsalted butter, cut into cubes
2 1/4 cups (15 3/4 ounces) sugar
4 large eggs
1 tablespoon vanilla extract
1 cup pecans or walnuts (optional)
Cream Cheese Mixture:
2 (3 oz) packages cream cheese, room temperature
5 tablespoons butter, room temperature
1/3 cup sugar
2 eggs, room temperature
2 tablespoons flour
3/4 teaspoon vanilla
Heat oven to 350 degrees. Generously grease or spray with cooking oil a 13 x 9 pan. If using nuts, spread on a baking sheet and roast in the oven for about 5-8 minutes. Set aside to cool.
Beat the cream cheese and butter in a bowl until smooth. Add the sugar, eggs, flour, vanilla and mix until combined. Set aside.
To make brownie batter, melt chocolate and butter over double broiler stirring occasionally until melted and smooth. You can do this in the microwave. Just heat on high for 45 seconds, then stir and keep heating for 30 second intervals, stirring each time, until melted. Gradually whisk in sugar. Add eggs one at a time, whisking after each addition. Whisk in vanilla. Add flour in thirds, folding each third into batter until just mix and smooth.
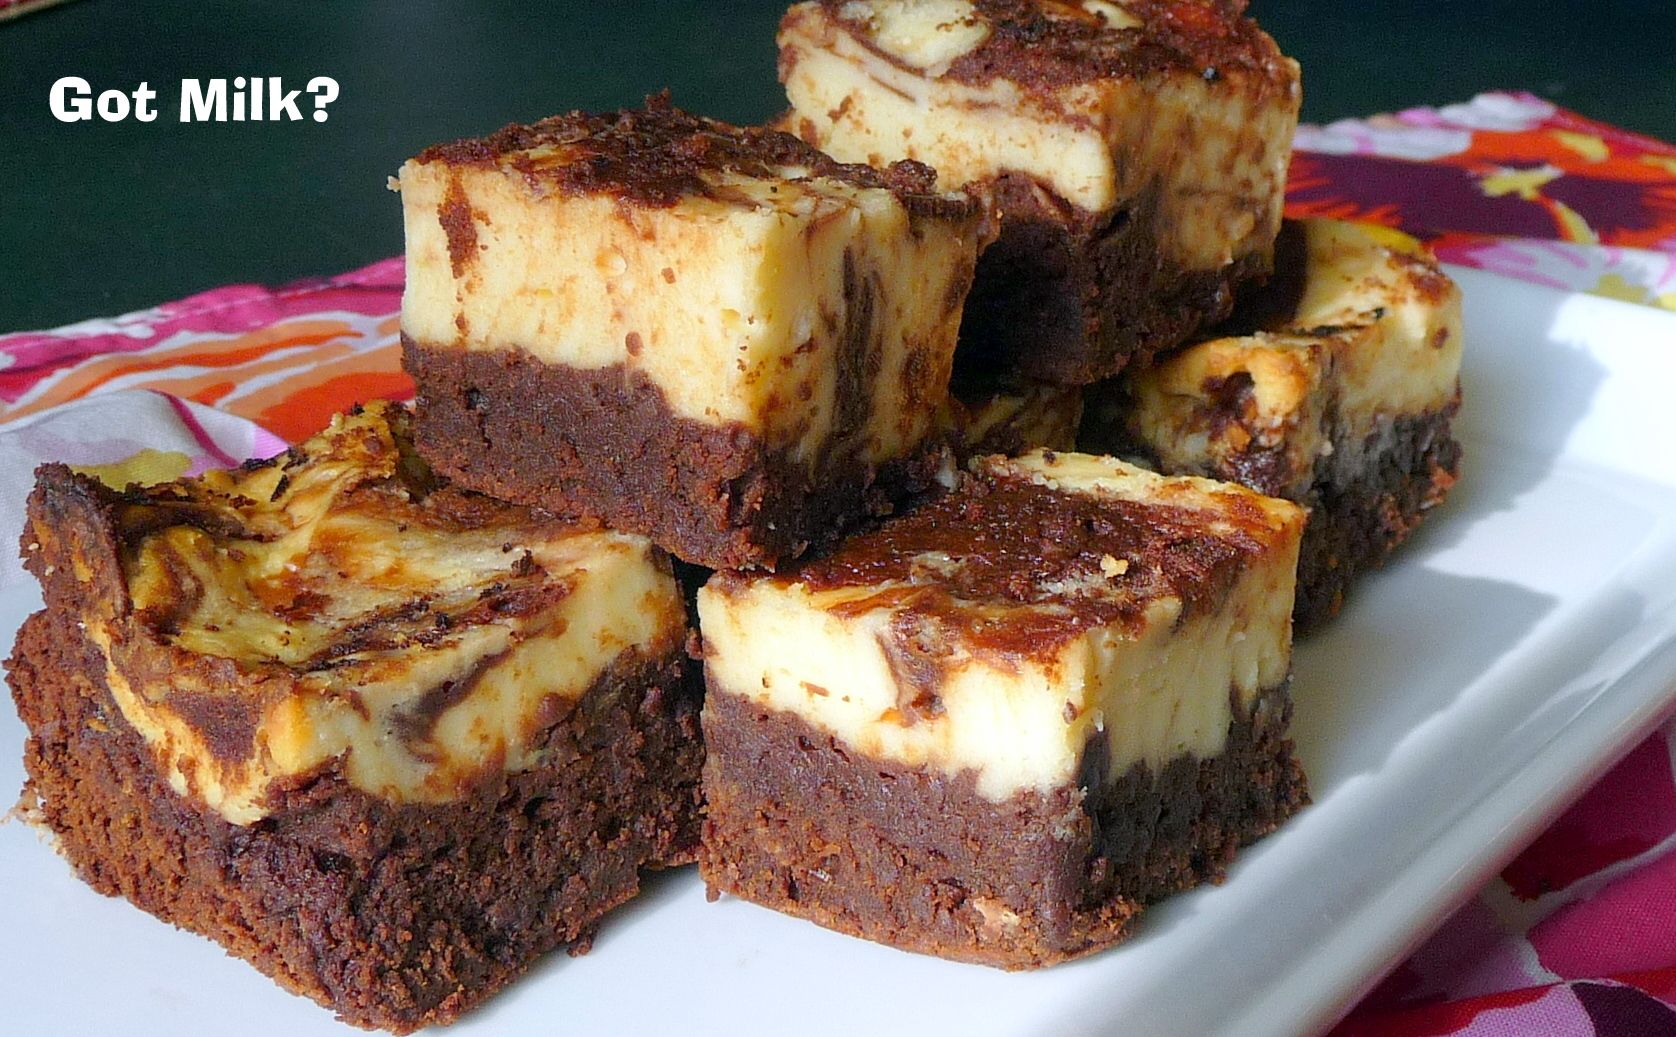
Pour half the brownie mixture into the cake pan. Pour the cream cheese mixture over the brownie layer. Spoon the remaining brownie mixture over the cream cheese mixture. Pull knife through batter in wide curves to create a swirled appearance.
Bake 35-40 minutes on the middle rack. Test with a toothpick to make sure they are done. Cool completely (if you can wait) before cutting. Tip: I dipped a serrated knife into hot water (dry it off before cutting) to cut the squares. This makes nice, clean squares.
Quick Mix:
Brownie Mixture:
1 box brownie mix
Cream Cheese Mixture:
2 (3 oz) packages cream cheese, room temperature
5 tablespoons butter, room temperature
1/3 cup sugar
2 eggs, room temperature
2 tablespoons flour
3/4 teaspoon vanilla
Mix up brownie mix as listed on box directions in one bowl. Mix cream cheese mixture in another bowl. Pour half the brownie mixture into the cake pan. Pour the cream cheese mixture over the brownie layer. Spoon the remaining brownie mixture over the cream cheese mixture. Pull knife through batter in wide curves to create a swirled appearance.
Bake 35-40 minutes on the middle rack. Test with a toothpick to make sure they are done. Cool completely (if you can wait) before cutting. Tip: I dipped a serrated knife into hot water (dry it off before cutting) to cut the squares. This makes nice, clean squares. Enjoy!