Thursday, August 26, 2010

Raspberry Lemonade Bars


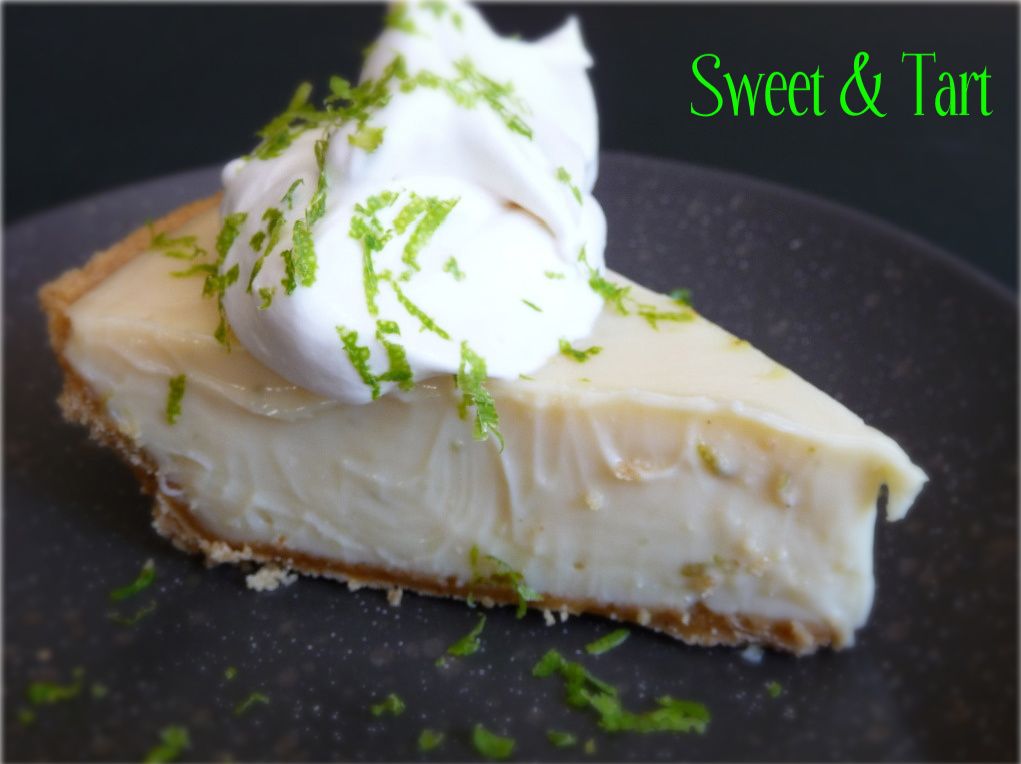
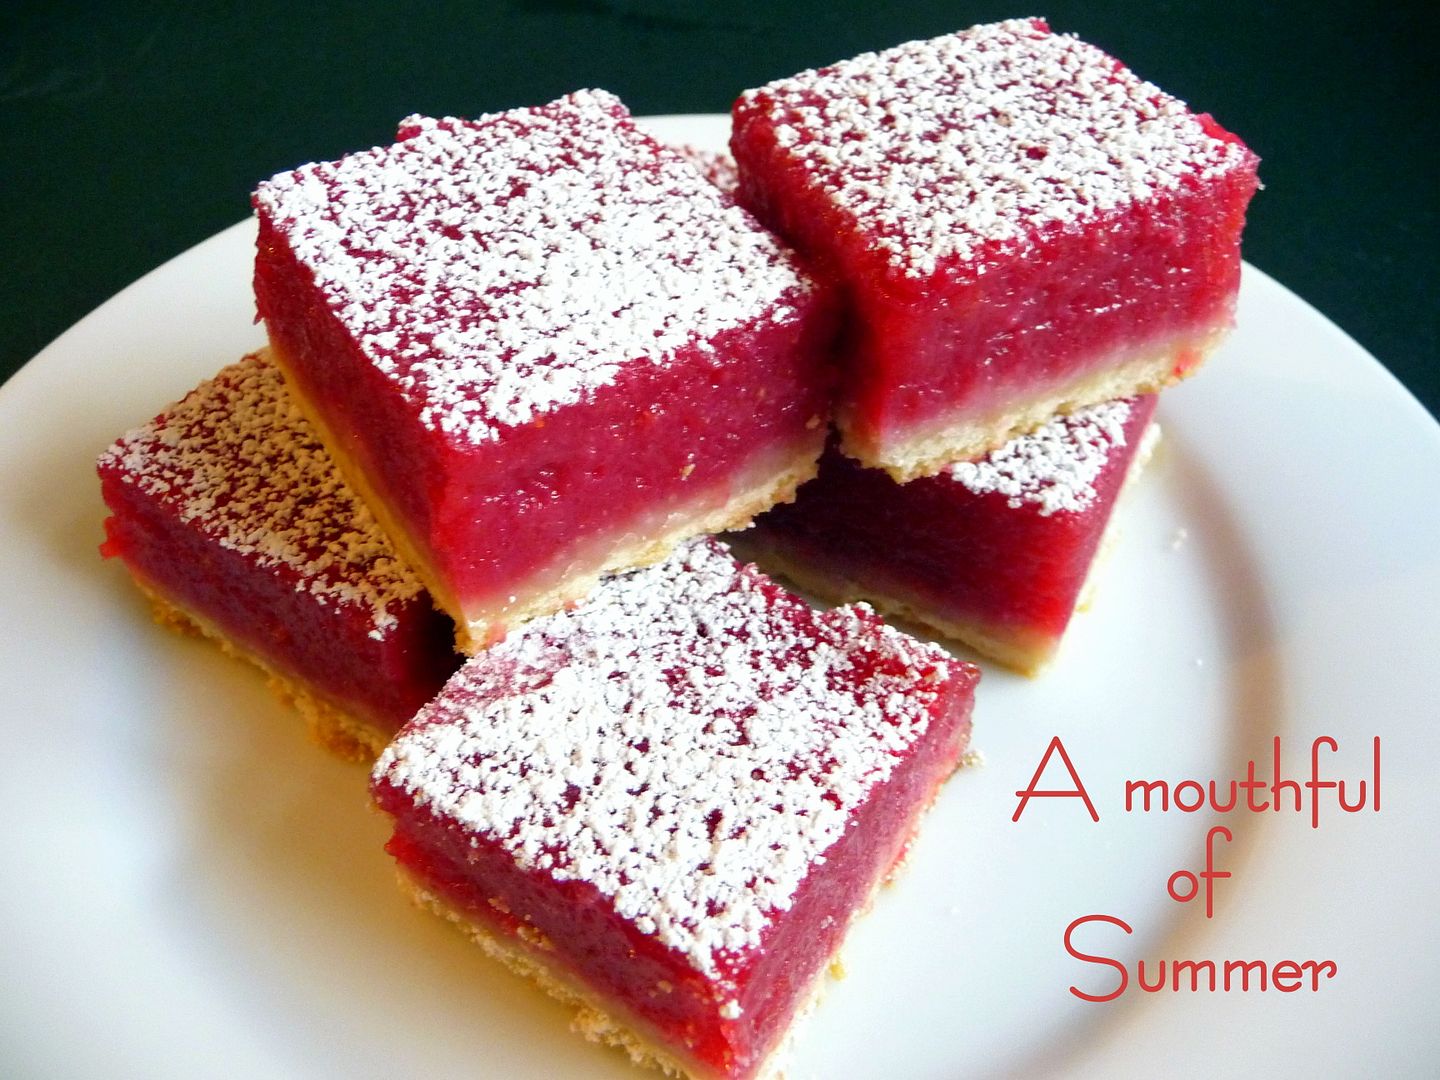
I think this picture says it all.  In fact there just isn't much else to say.  I know when I saw this recipe I just wanted to reach into the screen and grab one.  Wouldn't that be nice - if we could just grab something off the screen that we like.  Maybe someday...one can dream, about food that is!

We had plans to go whitewater rafting and I thought it would be nice to take something sweet for our picnic.  This was to eat before the crazy water journey that made my "back end" so sore I could hardly sit down.  It sounds crazy.  You're sitting or should I say "holding onto the rubber raft for dear life" with every muscle in your body.  And yes they are rubber, so you'd think it would be nice and soft.  It's not!  I know I have plenty of padding but after 4 hours of repeatedly bouncing on hard rubber, you get the picture.  Sorry - probably TMI.  The good news is that we had a great time and these bars did ease some of the pain.
   
Anyway, back to something sweet.  I found this super summery recipe online at a blog called Sophistimom and couldn't resist trying them.  Please don't judge my photos next to hers.  As you can see, I'm still a beginner...
 

Raspberry Lemonade Bars

Crust ingredients:
9 tablespoons unsalted butter (1 stick, plus one tablespoon)
1/4 cup sugar
1 cup unbleached all-purpose flour
Pinch salt

Filling ingredients:
1 1/2 cups superfine sugar (or regular granulated)
3 egg whites
1 egg
2/3 cup lemon juice (from 3 lemons)
2 tablespoons lemon zest (from 2 lemons)
2/3 cup unbleached, all-purpose flour
Pinch of salt
1-2 cups of frozen raspberries, defrosted
1 tablespoon confectioner’s sugar
 

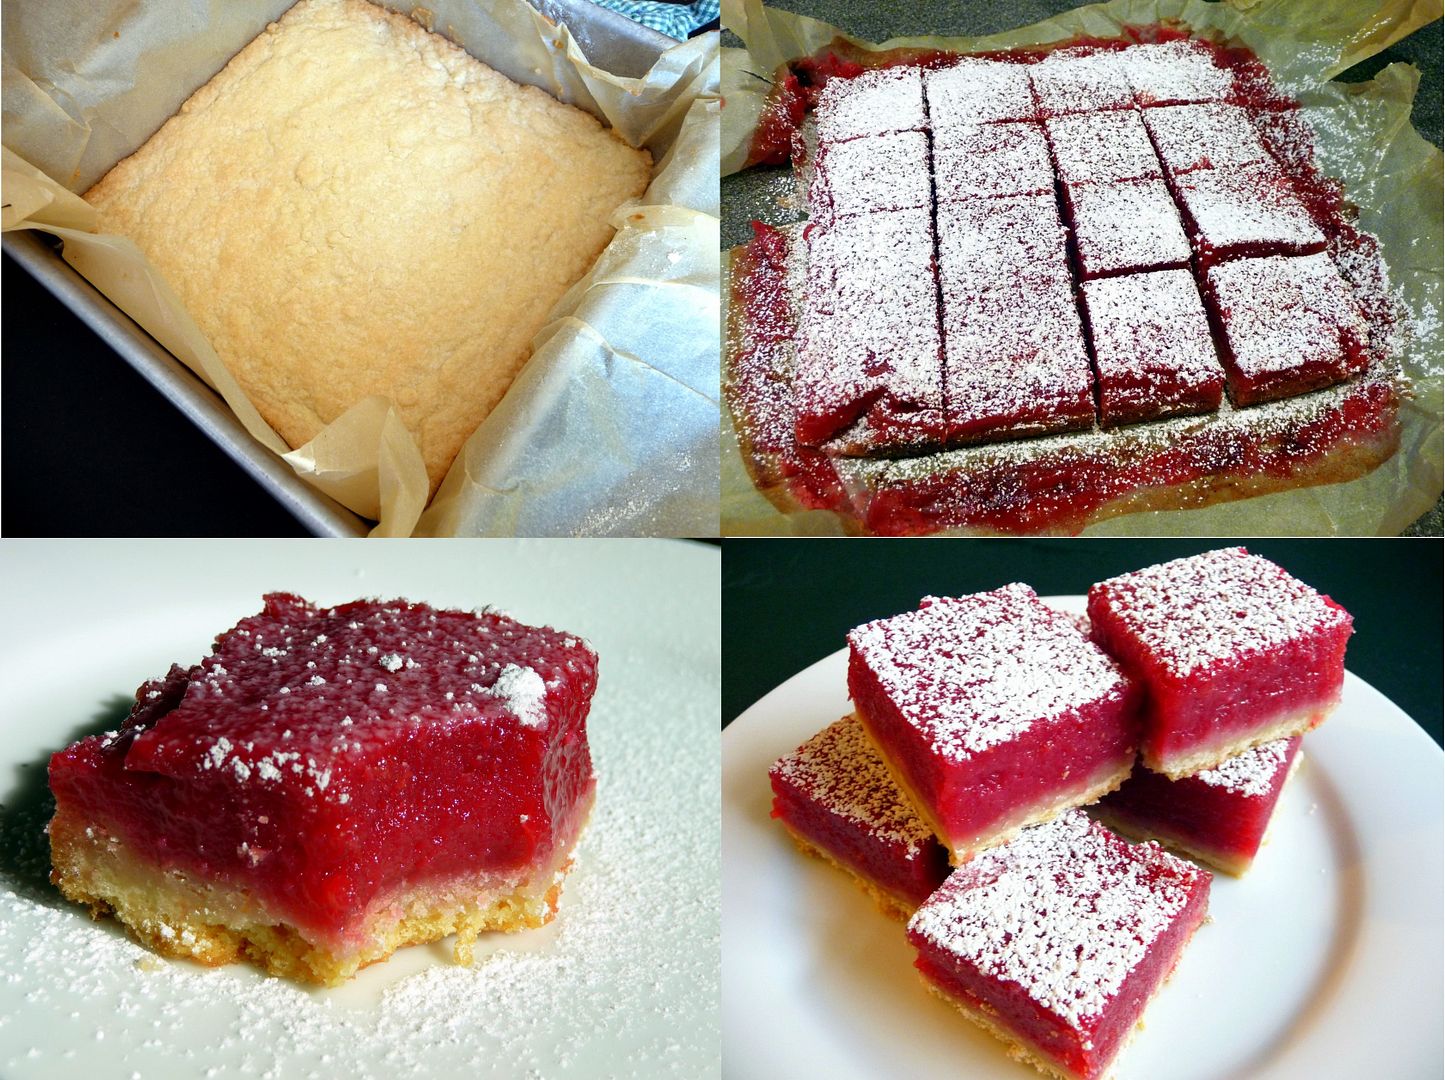
Preheat oven to 350 degrees.  Line a 8×8" square baking pan with about 8x14" of parchment paper, or foil if you don't have parchment.  It should cover the bottom and overlap on either side.  This way you can easily pull the entire pan of bars out of the pan and cut them neatly.  Or you can just cut them in the pan if you want to dive in when their cool enough to eat.  If you do leave them in the pan, no need to butter it. 

Cream butter, sugar, and salt with an electric mixer.  Mix in flour until just incorporated.  With floured hands, press dough into 8×8″ square baking pan so that it comes up about a 1/2" around the sides.  Bake for 20-25 minutes, or until slightly golden brown.  While it cools, prepare the filling.  

Whisk sugar, egg whites, egg, lemon juice, zest, flour and salt in a large bowl.  Pour raspberries into a sieve and press through to extract all the pulp and juices.  Whisk into lemon mixture and pour into crust.  Bake for 30-35 minutes until filling is completely set.  Let cool completely.  You can put them in the freezer for about an hour if you're impatient like me.  Using the overlapping edges of the parchment paper, gently lift the dessert from the pan.  Cut into 16 squares.  Dust with confectioner’s sugar.  They're rich but yummy!

Adapted from Sophistimom
Print recipe
Enhanced by Zemanta

Tuesday, August 17, 2010

Easy Key Lime Pie


Have you ever eaten something that you just can't quit eating?  Well that's how I was with this Key Lime Pie.  I was just going to have a bite.  Just one bite.  Only one bite.  Then I was going to put the pie back in the refrigerator and have another bite tomorrow.  You can probably guess what happened.  I had a few bites and then decided since there were only a couple of bites left, I'd just eat the whole slice.

This pie is really good and really easy.  Really good.  If you like light, slightly tart, sweet, creamy desserts, you'll love this one.  I made it for some good friends that we had over for dinner and it was perfect after a barbecue on a summer evening.

One thing different about this Key Lime Pie is that it doesn't have any eggs in it.  Just five ingredients and you can whip it up in a matter of minutes.  If you have access to key limes, definitely use them.  I bought the bottled kind which you can find in most grocery stores.  I ended up cooking mine longer than the recipe because it just didn't seem cooked enough.
 

Easy Key Lime Pie

1 9 inch prepared graham cracker crust
3 cups sweetened condensed milk
1/2 cup sour cream
3/4 cup key lime juice
1 tablespoon grated lime zest

Preheat oven to 350 degrees.  Mix all the ingredients (really well) and pour into pie crust.  Bake 5-8 minutes or until tiny bubbles burst on the surface.  DO NOT BROWN.  Chill pie thoroughly.  Serve with whipped cream and garnish with lime slices.  I cooked my pie about 12 minutes but watch yours closely, because you don't want it to brown. Serves 8.
Adapted from Ann Richardson from All Recipes

Wednesday, August 11, 2010

Fresh Basil Corn Salad


Corn and I have a serious relationship.  We are inseparable during the summer months and then we get sick of each other and take a break during the winter months.  Come summer, I can't wait to see it again and look high and low for my sweet delicious corn on the cob.

When I first met my husband, he told me that he didn't like corn.  I was shocked to say the least - how can anyone not like fresh, sweet corn.  I assumed because he grew up in the U.K., he probably didn't have access to corn like we have.  Come to find out, he likes corn, he just doesn't like eating it off the cob.  Whew!  We discovered this after he tasted this salad.

If you like corn, you'll love this dish.   I started making this salad about 5 years ago and since then it's become my go to salad for summer.  If you're having company or a barbecue, this is a perfect summer salad to serve.  Trust me, you won't miss corn on the cob once you taste this salad.  It's refreshing and light with a pop of fresh corn flavor.  Try it - it's really delicious!    


A few tips worth mentioning.  I slightly cook the corn by wrapping it in a wet paper towel and cooking it in the microwave for 2 minutes. I unwrap it right away - careful you don't burn yourself.  This way it will cool and not continue to cook.  You can do all four ears with the same paper towel if you want.  Let them cool before slicing the kernels off the cob. 

I also soak my red onion before tossing it in with the salad.  I chop it up and put it in a bowl with some cold water and then add a few ice cubes.  I let it sit for about 20 minutes.  Drain and then add to your salad.  This takes all the sharp oniony flavor out of the onion - the kind that you taste four hours later.  I'm not a big raw onion person but I really don't mind them at all after they've gone for a good soak.

Fresh Basil Corn Salad

4 ears of corn, blanched or microwaved (see above)
2-3 tablespoons olive oil
2 tablespoons seasoned rice wine vinegar
1/4 cup chopped red onion
1/4 cup chopped basil
1 teaspoon salt
1/2 teaspoon pepper

Slice the kernels of corn off the cob.  Add to a bowl.  Add 2 tablespoons of olive oil.  If it's still dry, add one more tablespoon.  Add the rest of the ingredients and serve.  If you want to make ahead of time.  Prepare corn and add olive oil.  Refrigerate until 30 minutes before the meal and then add the rest of the ingredients.  You may need to add an additional tablespoon of olive oil after it's been sitting.  Enjoy!

Print Recipe
Adapted from the Barefoot Contessa


Enhanced by Zemanta

Sunday, August 1, 2010

Herb Marinated Tri Tip with Chimichurri Sauce


We had some good friends over for dinner last night and in my attempt to come up with the perfect summer menu, I decided to marinate and grill some tri tip steak.  Normally I'm not a big tri tip fan, but I've had it several times this summer and it's been really good - tender, moist meat with lots of flavor.  Last week, I happened to see it at Costco so I bought a massive 5 pound package.  You know the size I'm talking about - it's so large you think it will last a year.  It stared at me all week in the refrigerator as I decided what to do with it. 

As part of my summer menu I decided to marinate and grill the tri tip.  I just can't throw a piece of meat on the grill without some kind of seasoning or marinade.  It's just not in my DNA.  I picture it as having a blank canvas and we have the freedom to create a masterpiece of flavor.  I'm being a bit melodramatic but really - you can create your own masterpiece.  Give it a try sometime.  I decided to marinate the tri tip with a simple garlic and herb mixture and then serve it with a Chimichurri sauce on the side.  Talk about flavor - it really was perfect for a summer dinner with friends.


I think of tri tip as not quite a steak and not quite a roast.  It's in the middle.  The cut is from the bottom of the sirloin and it use to always be ground into hamburger.  It's gained popularity as small butchers have morphed into large packers.  The meat is relatively low in fat so it's best not to cook more than medium unless you really marinate it well or serve it with a tasty sauce, say like a Chimichurri sauce.

I've been dying to make a Chimichurri sauce all summer.  I love cooking with herbs so the thought of having them all chopped up together with olive oil and garlic sounded like a match made in heaven.  Traditionally, Chimichurri is served with a flank steak and I'm sure there are quite a few variations on the sauce.  Your typical ingredients are garlic, herbs, vinegar and olive oil.  My recipe is from Emeril.  Nothing I've made of his has let me down yet.

Chimichurri Sauce

1/2 cup olive oil
1/3 cup sherry wine vinegar
1 tablespoon lemon juice
1/2 cup chopped flat leaf parsley 
2 tablespoons fresh basil, chopped
1/2 tablespoon fresh oregano, chopped
1 1/2 tablespoon minced garlic
1 tablespoon minced shallot
1/2 teaspoon salt
1/4 teaspoon pepper
Pinch of red pepper flakes (optional)

Combine all the ingredients, except the red pepper flakes, into a food processor and pulse until combined but not pureed.  Place in the refrigerator until ready to use.

Adapted from Emeril Lagasse

Herb Marinated Tri Tip

1/3 cup canola oil
2 teaspoons lemon juice
2 cloves garlic, minced
4 teaspoons chopped fresh parsley
2 teaspoons chopped fresh tarragon
2 teaspoons vinegar (any kind)
2 teaspoons salt
1 teaspoon pepper
1 to 1 1/2 lbs tri tip

Mix all ingredients and pour over meat.  Marinate as long as possible  - the longer the better.  Let meat stand at room temperature at least 30 minutes before grilling.

Grill for 30-45 minutes,depending on your degree of likeness, on medium heat. Let rest 10 minutes before slicing.  Serve Chimichurri sauce on the side.  Serves 4.

Print Tri Tip Recipe


Enhanced by Zemanta