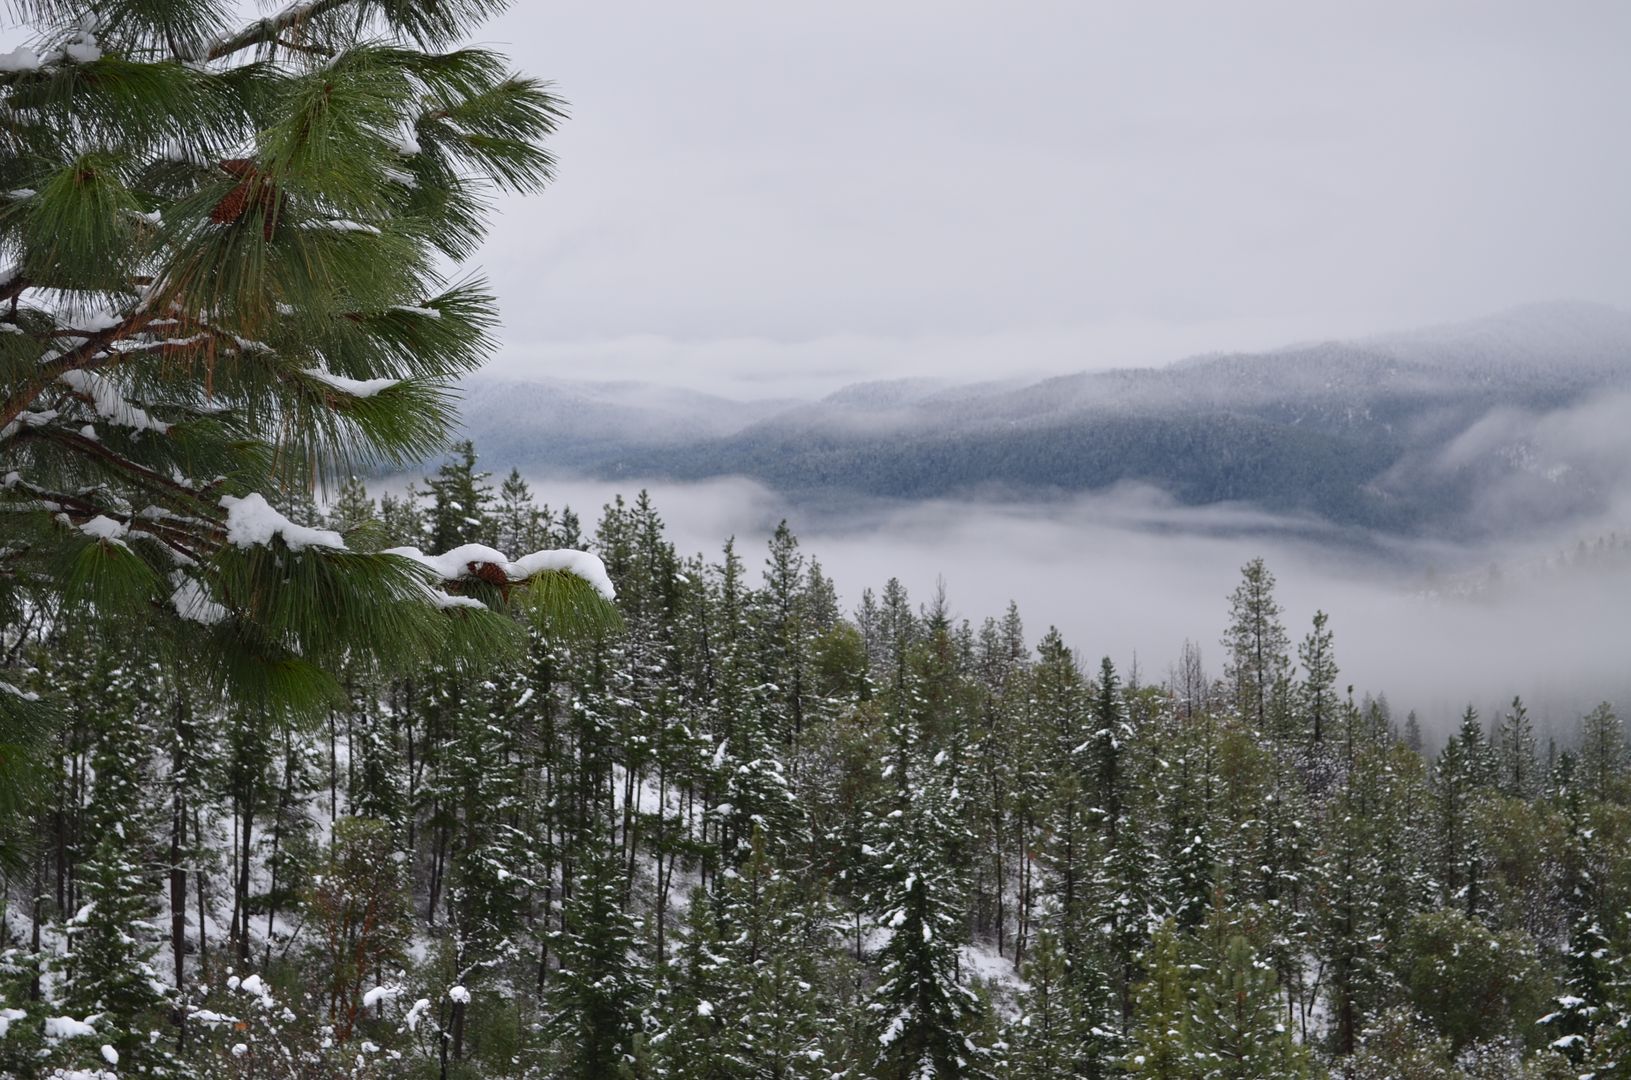
We finally made it to Oregon. It took us 12 hours, 6 more than usual to get to my brother's house in Oregon. We survived a blizzard and three traffic accidents where we were completely stopped for over an hour each. Finally after 12.5 hours in the car, we get to my brother's two mile long ice covered driveway, only to make it part way up. Quite a memorable road trip and it doesn't end there. Since we got here, we've had two power outages which wouldn't be a big deal if the toilet and the coffee maker would work. :-) At least we're all together and it's almost Christmas. Here's a picture from my brother's front deck.
It's a few days before Christmas and I'm sure there is some last minute scrambling but if you have time for a nice breakfast, here's a good homemade pancake recipe that's pretty easy and you probably have all this on hand.
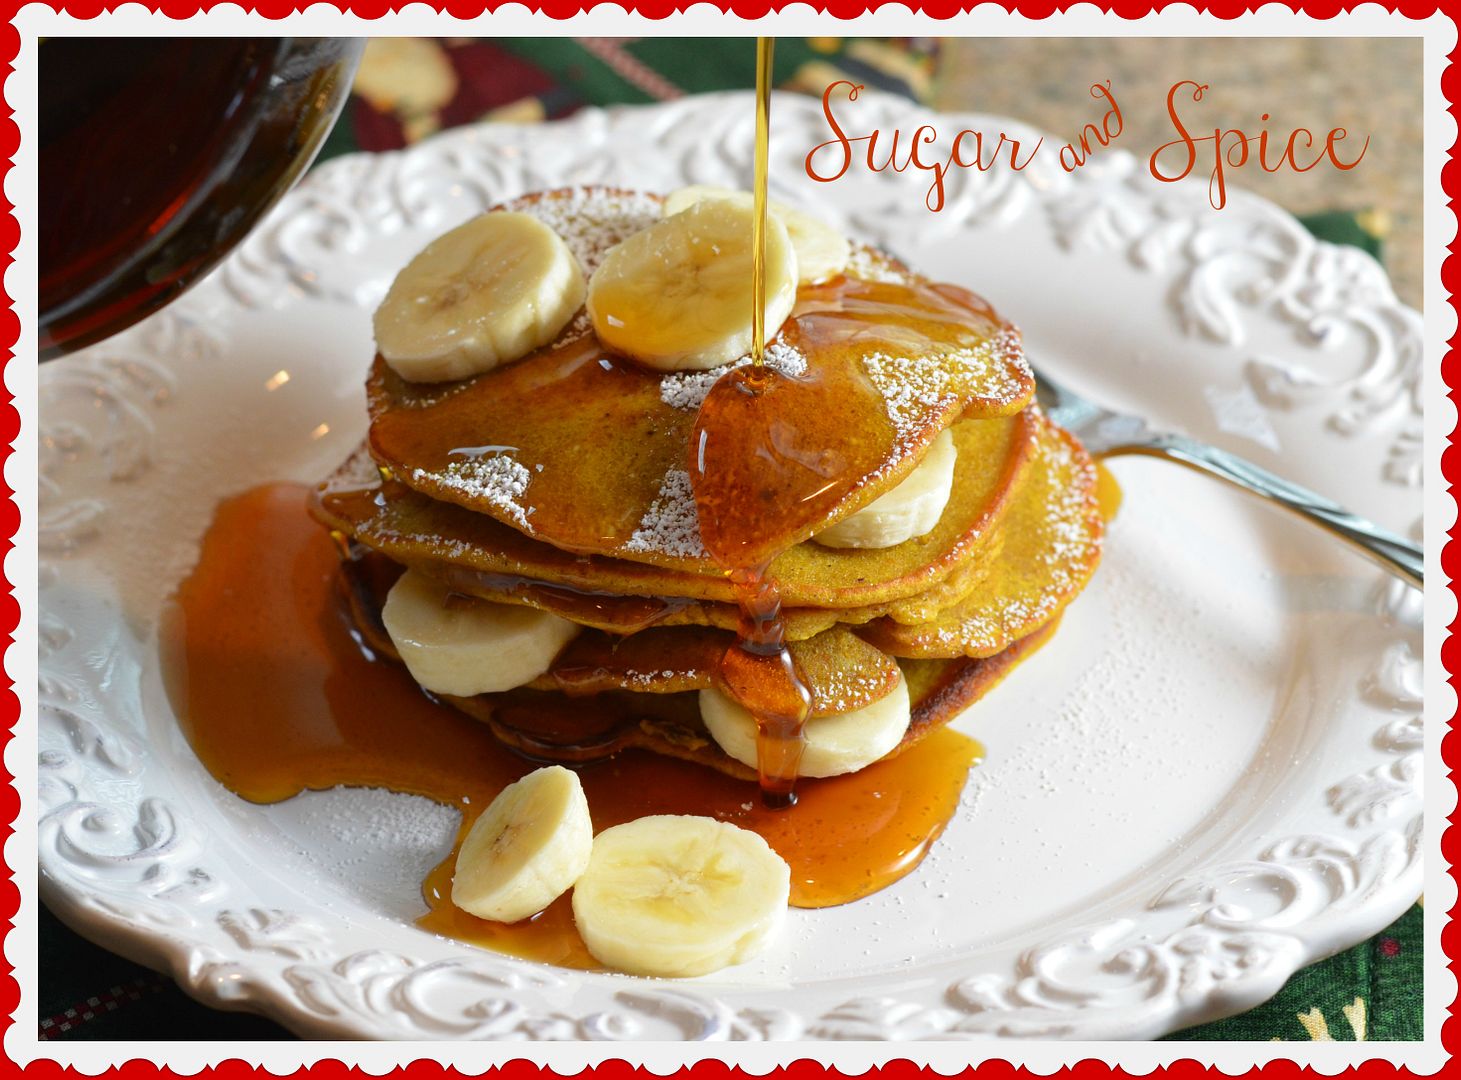
Pumpkin Banana Pancakes
1 cup all purpose flour
3 tablespoon brown sugar
1 teaspoon baking powder
1 1/2 teaspoon pumpkin pie spice
1/2 teaspoon salt
1/2 cup pumpkin
2/3 cup coconut milk, or milk, soy milk, almond milk
2 large eggs
1 mashed banana
Mix dry ingredients together - flour, brown sugar, baking powder, pumpkin pie spice, and salt. In a large bowl, mix wet ingredients together - pumpkin, coconut milk, eggs and banana. Gradually add dry to wet ingredients until just combined. Heat up a large non-stick pan or griddle over medium heat and add a pat or two of butter. When butter is melted, add a 1/3 cup of pancake batter and form as many as your pan can hold. When bubbles start to form on the tops of the pancakes, flip them over. After a minute or two, they should be cooked and slightly brown on each side. If you have a bunch to make, turn your oven on 250 degrees and keep your pancakes in the oven as you make them. This way you can all eat at the same time. When ready to serve, add cut up banana, sprinkle with powdered sugar and/or serve with warm maple syrup.
Makes 9-10 small pancakes