Wednesday, December 11, 2013

Date Nut Cookies & The 2013 Great Food Bloggers Cookie Swap


Before I get to the Date Nut Cookies, let me share with you all the delicious cookies, biscotti and brownies I received in the 2013 Great Food Blogger Cookie Swap. There's nothing like opening a package full of cookies from all over the U.S. It's really fun to see where they came from and to check out each of their blogs.

You might recall us having done the Great Food Bloggers Cookie Swap the past couple of years where money is raised for Cookies for Kids Cancer. This year the bloggers raised over $13,000! It's always a challenge to get the cookies made and out in time since we have to ship them out right after Thanksgiving. I'm always scrambling the last day to ship them but it's worth it. This year mom was here visiting me so we were able to do them together.

All of the goodies we received were delicious. Lots of chocolate! Below you'll find a picture of each and a link to their blog. I'm taking a photography class for fun and have to turn in a portfolio of photos this weekend. Of course I chose food. I used my new friends goodies as props as you'll see below.

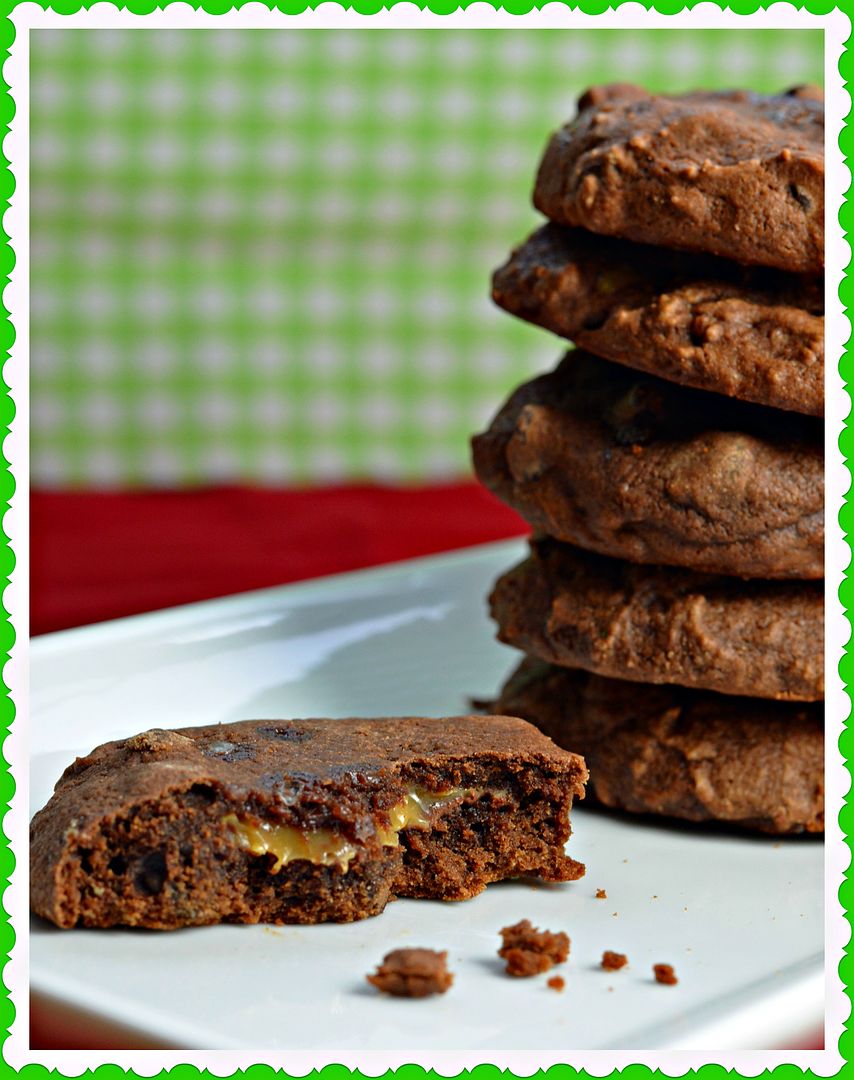
Salted Caramel & Nutella Stuffed Chocolate Chip Cookies from Krystal at Ink & Frosting.


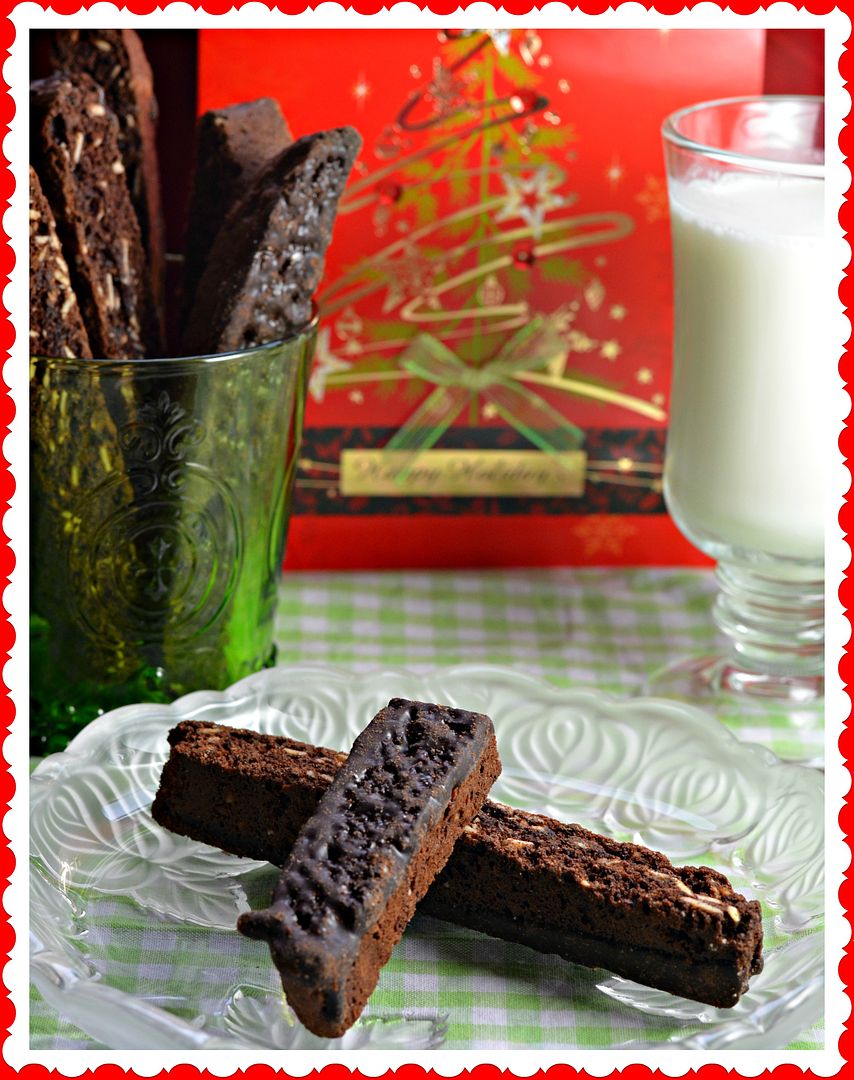
Double Chocolate Almond Biscotti with Sea Salt from Laura at Blogging Over Thyme


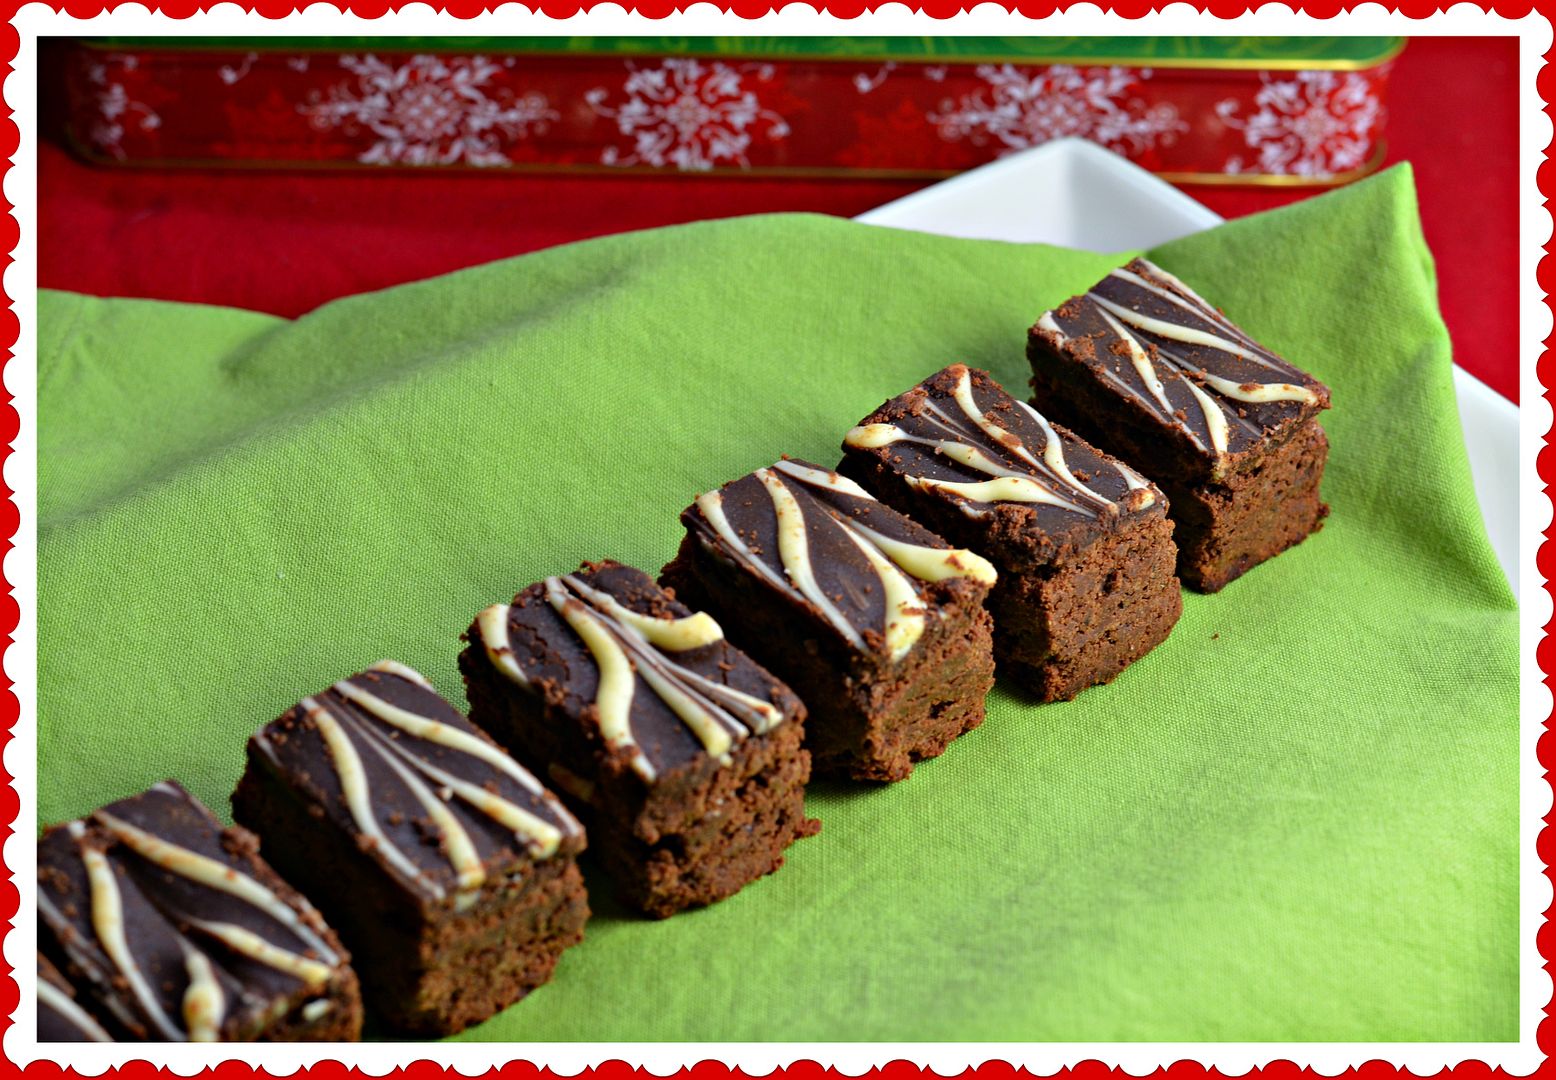
Peppermint Brownies from Melissa at Being a Bear


I choose my grandmother's Date Nut Cookies to send to my swap partners which were Ink Foods in Dallas, TX, Yums and Loves in Issaquah, WA, and Eat Bake Drink Cook in Washington, DC. They all have beautiful blogs.

I have very fond memories of these cookies. My grandmother always had these around at the holidays. She would usually have some in a tin or they would be in the freezer. I loved eating them right out of the freezer. They're a little crunchier but the date filling stays soft. Here's a step by step run down on how to make them.


Hope you enjoy these cookies as much as I have over the years.

Date Nut Cookies 

Date Filling:
1 cup water
1 cup finely chopped nuts (walnuts or pecans)
2 pounds of pitted dates, chopped
1 cup of sugar

Dough:
1 teaspoon salt
3 teaspoons baking powder
4 cups flour, sifted
2 teaspoon cinnamon
10 tablespoons butter
2 teaspoons vanilla
2 eggs
2 cups sugar

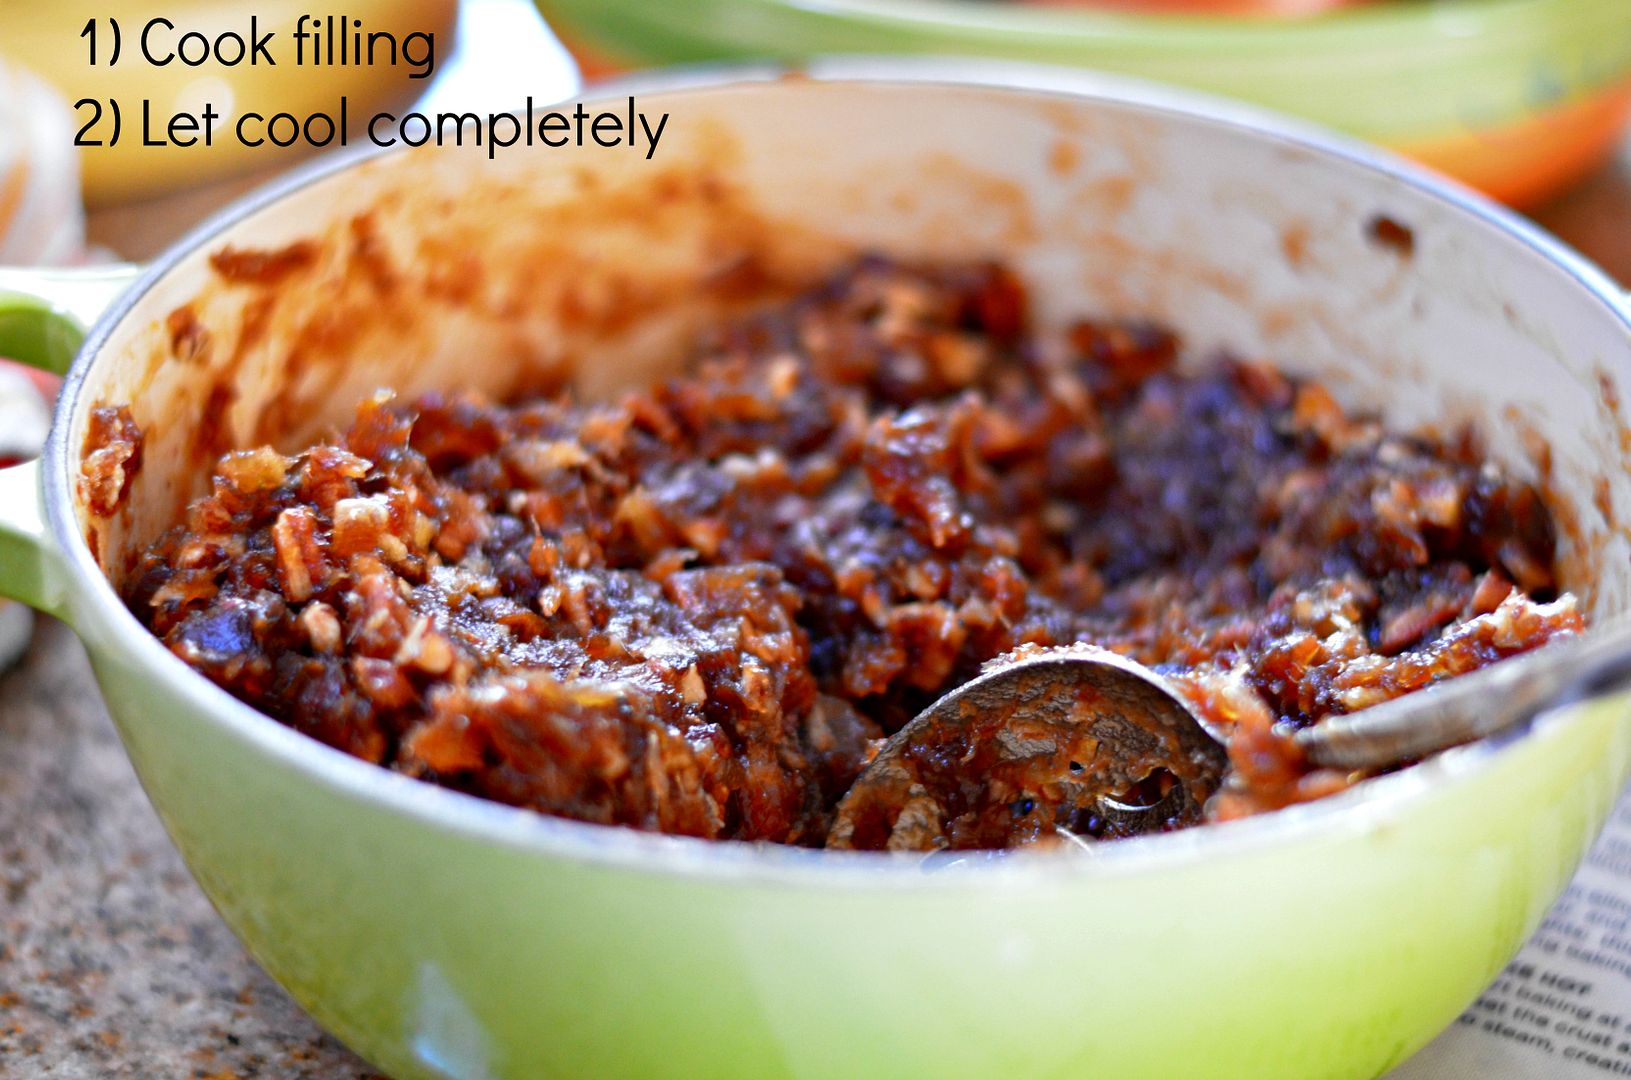
To make the filling, heat a large saucepan and add the dates, sugar, nuts and water. Stir over medium heat about 10 minutes until it all melts together and thickens.

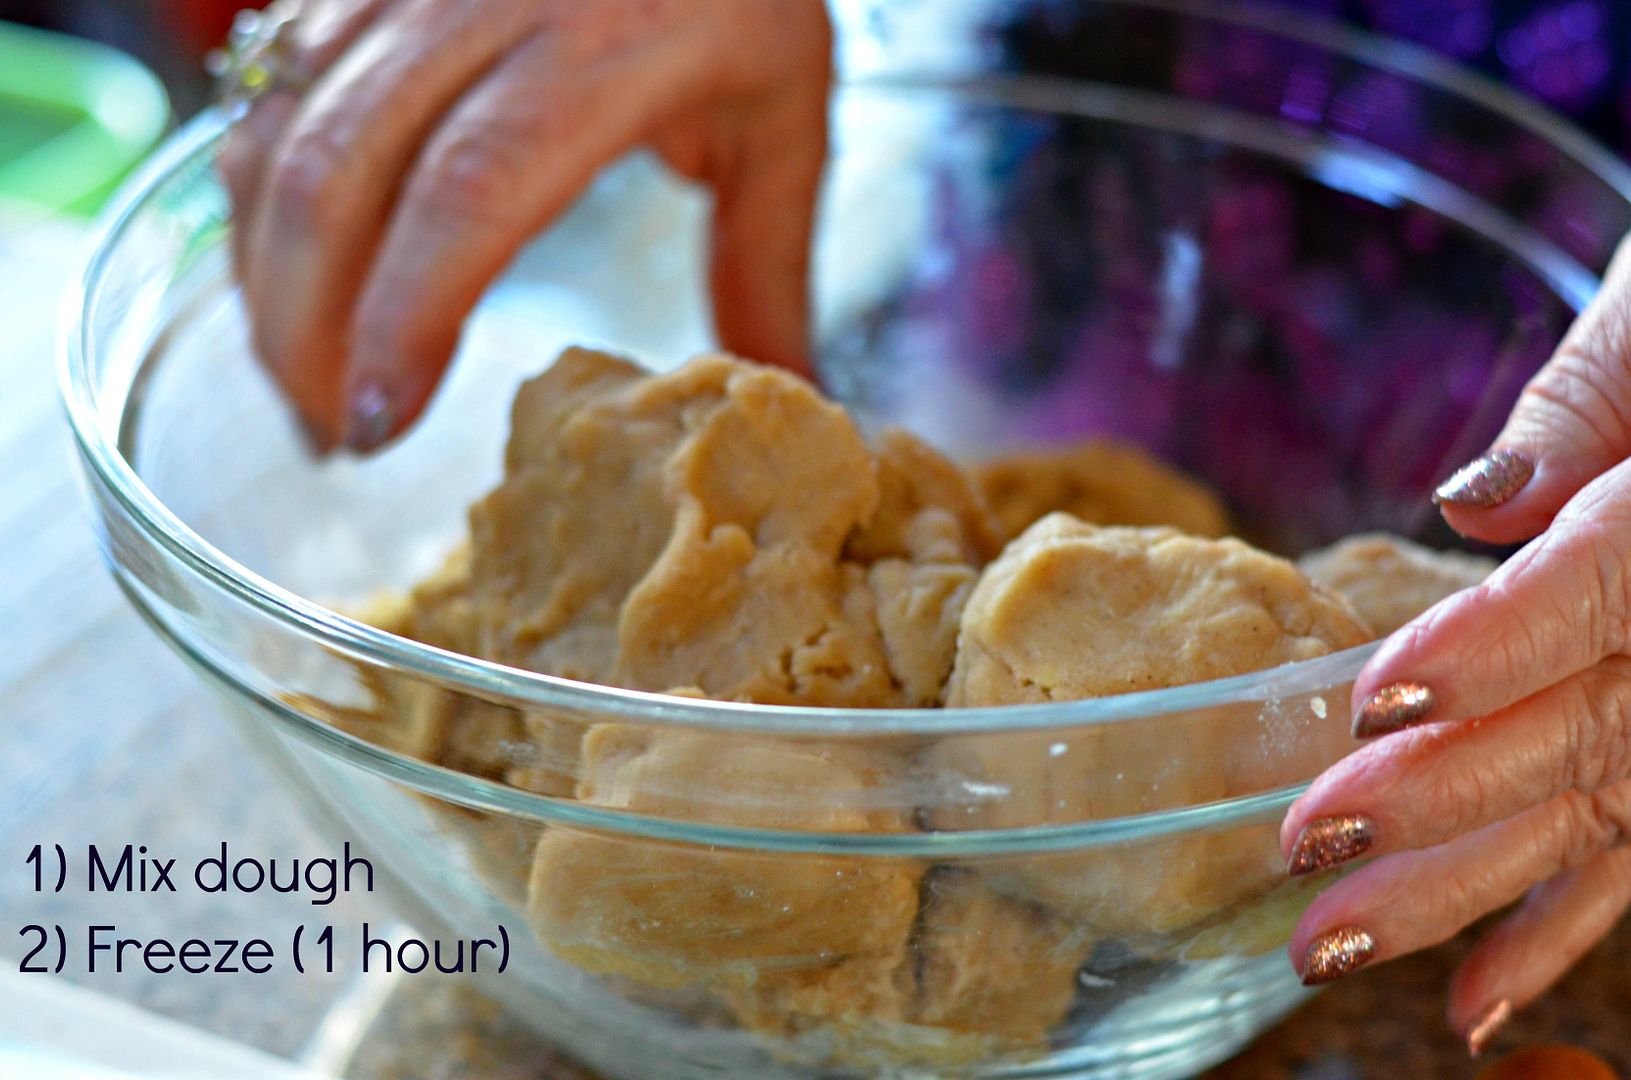
To make the dough, cream together the sugar, butter and eggs. Add vanilla. Stir together the dry ingredients - flour, cinnamon, salt and baking powder. Add dry ingredients to the egg mixture. Once it is mixed well, freeze for at least one hour. It makes a soft dough.

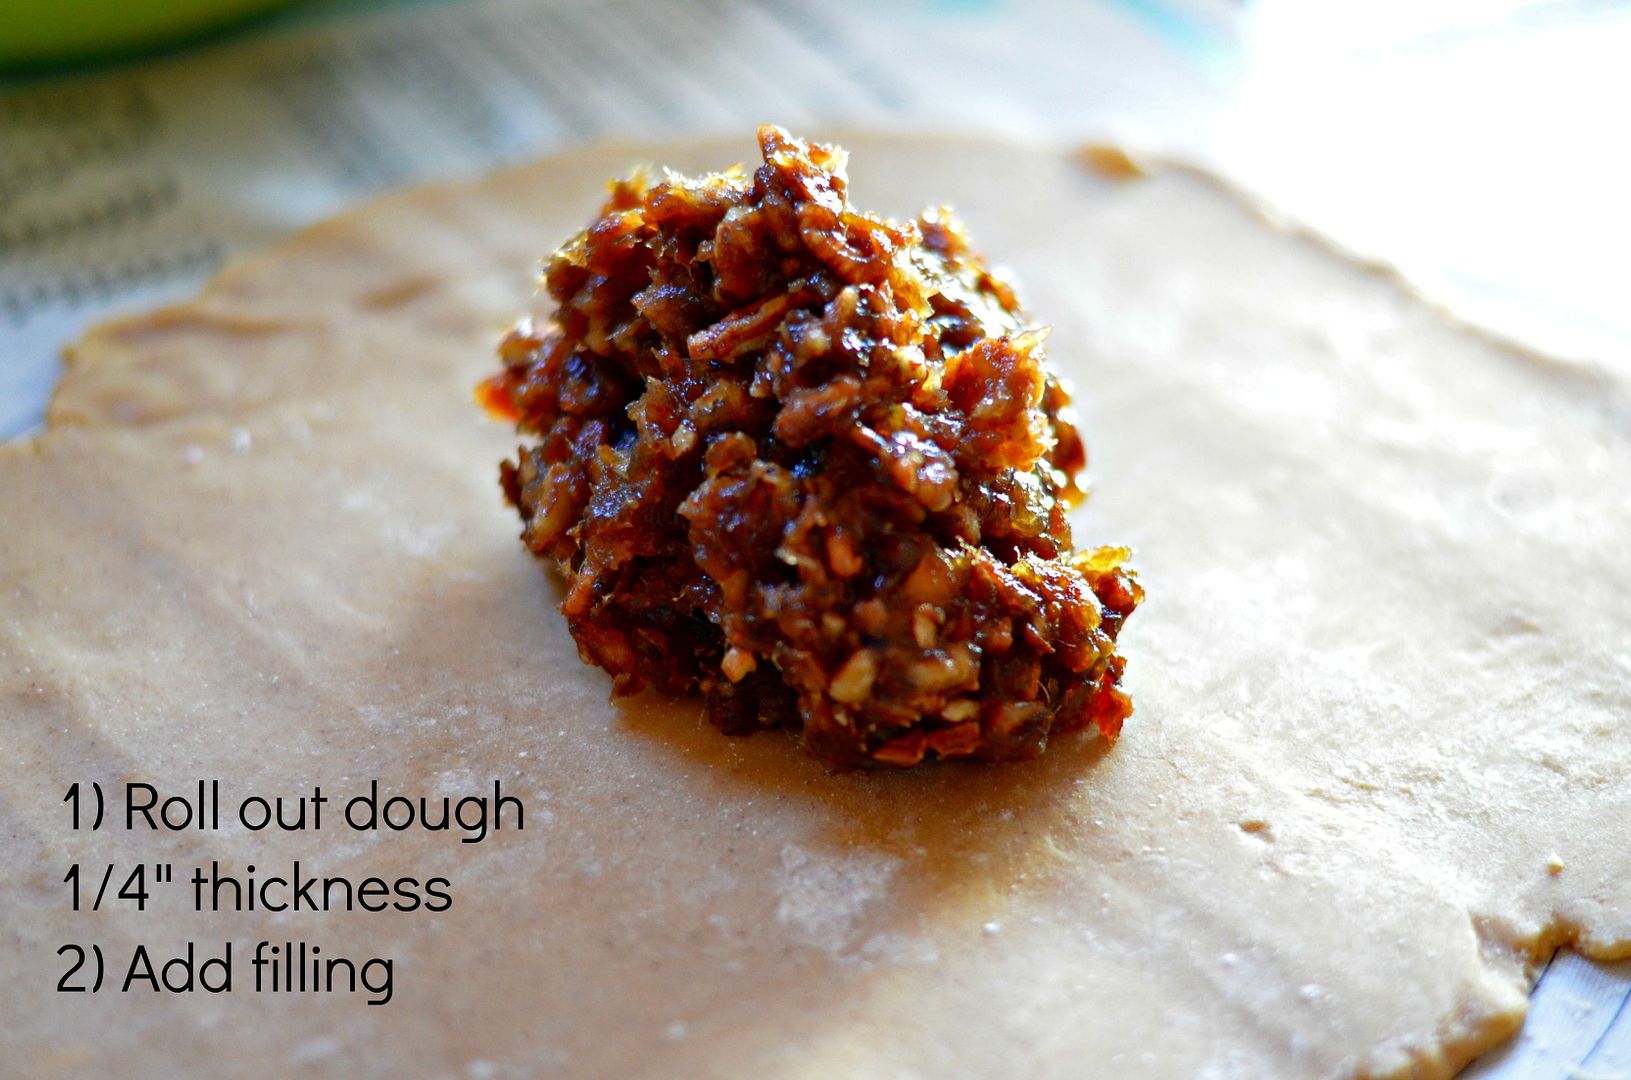
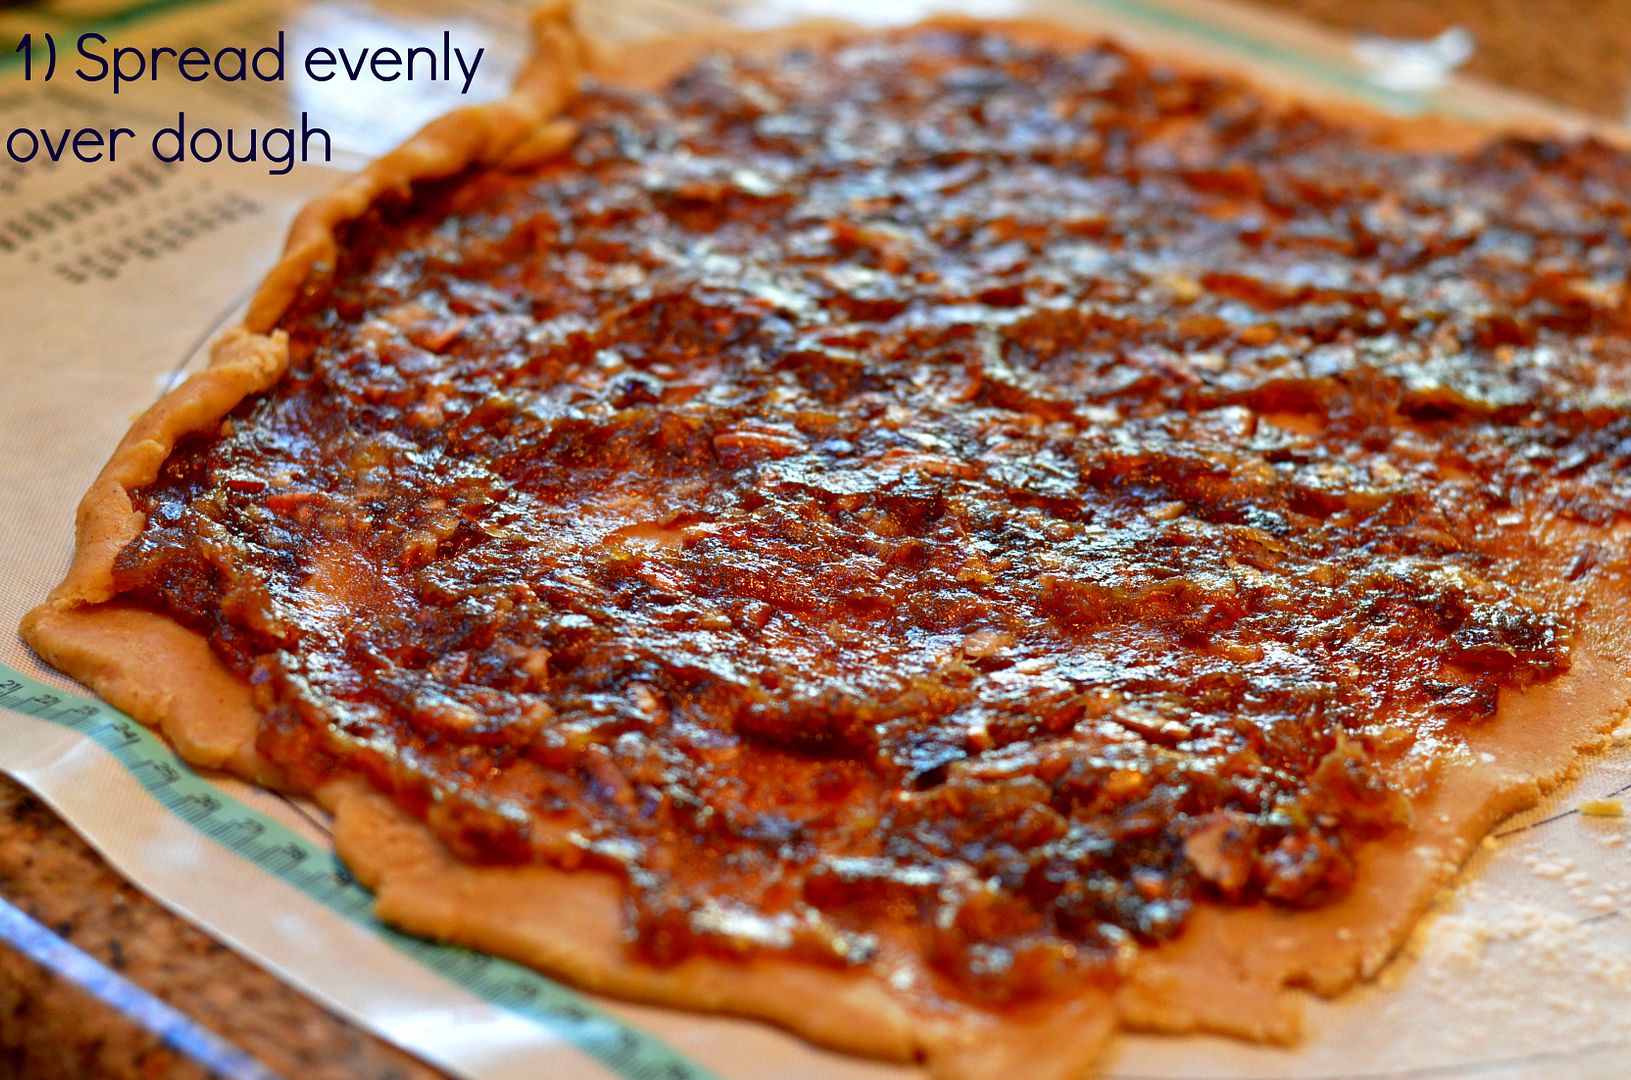
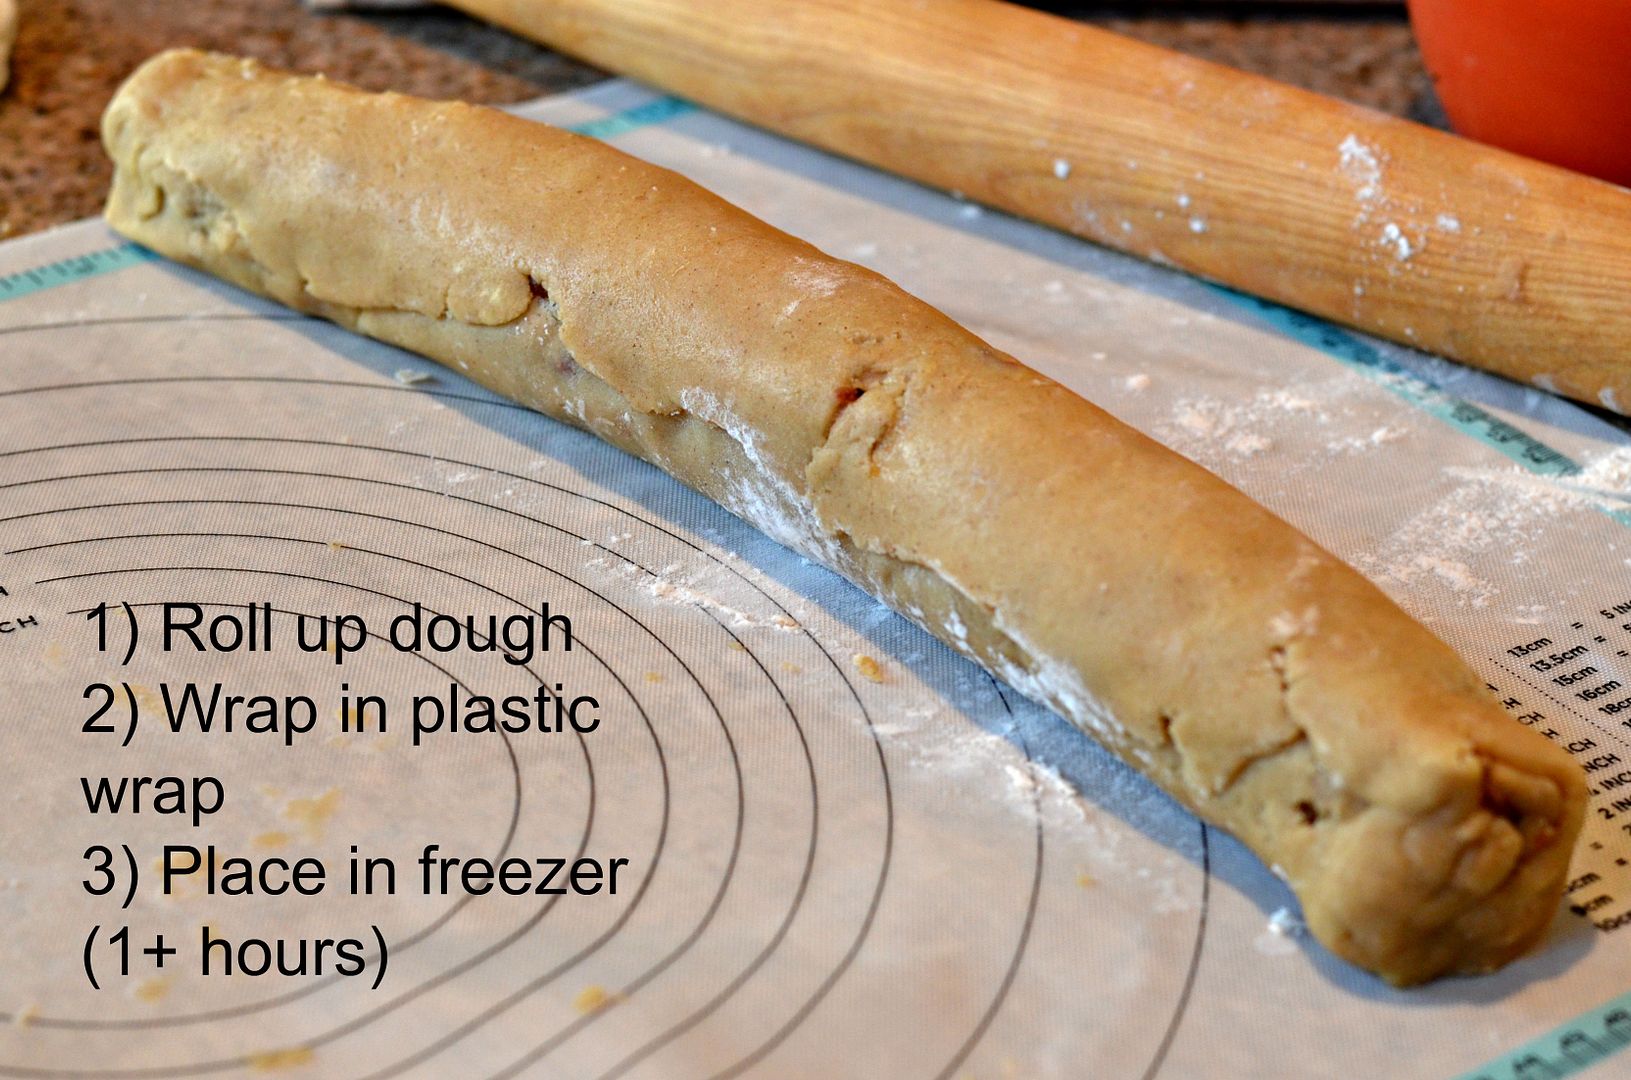
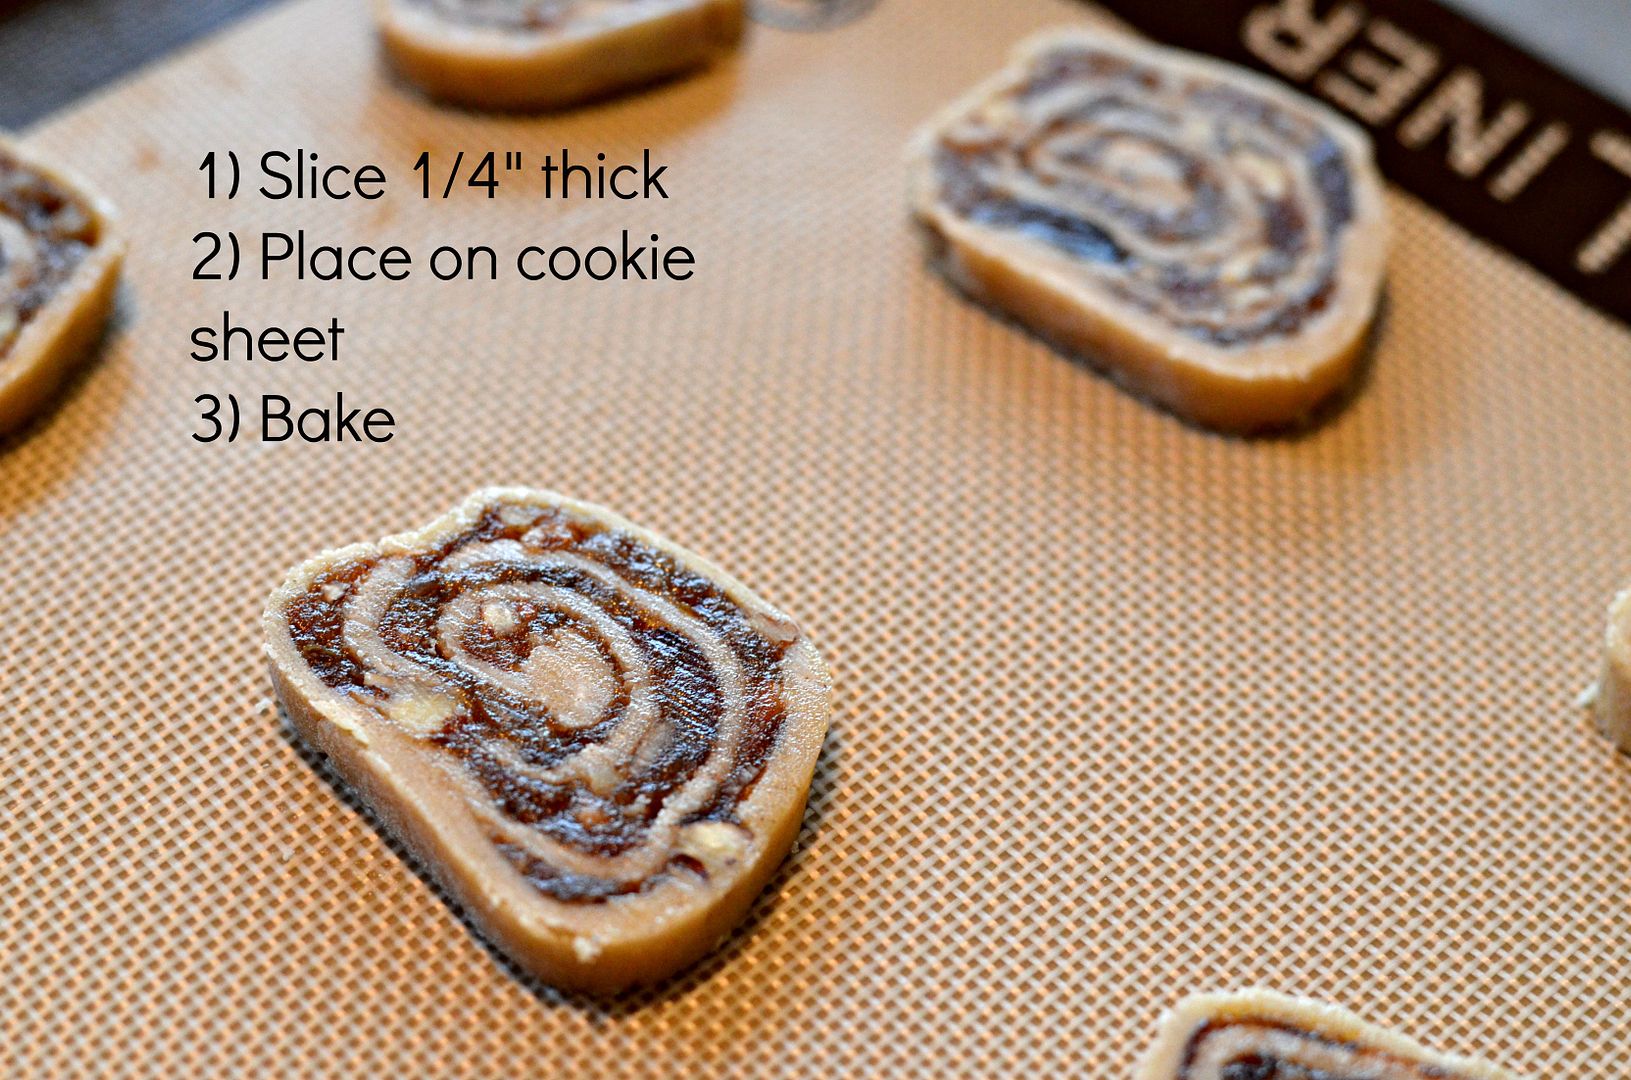
To make the cookies: split the cookie dough in quarters and take one of these quarters, put the rest back in the freezer or fridge. Roll dough into a rectangle or oval and a 1/4 inch thickness. Make sure you flour the board and rolling pin to keep it from sticking. Spread a quarter of the date mixture over the dough. Roll up the dough on the long end. Wrap in plastic wrap and place in freezer for at least an hour. Do the same with the remaining quarters of dough. When you want to make cookies, preheat oven to 375 degrees, take a roll of dough out of freezer, slice the dough in 1/4 inch thickness and place on a cookie sheet 2 inches apart. Place in oven for 8-10 minutes. The cookies should not get too brown but have a slight golden color to them when you pull them out. Cool on cookie rack. Makes ~8-10 dozen cookies. You can cut this recipe in half if you want less cookies. It's really nice to have these in the freezer though, either cooked or in a roll so that you can have/make cookies anytime you need them. Enjoy!

Print Recipe

Saturday, November 2, 2013

Fall Minestrone


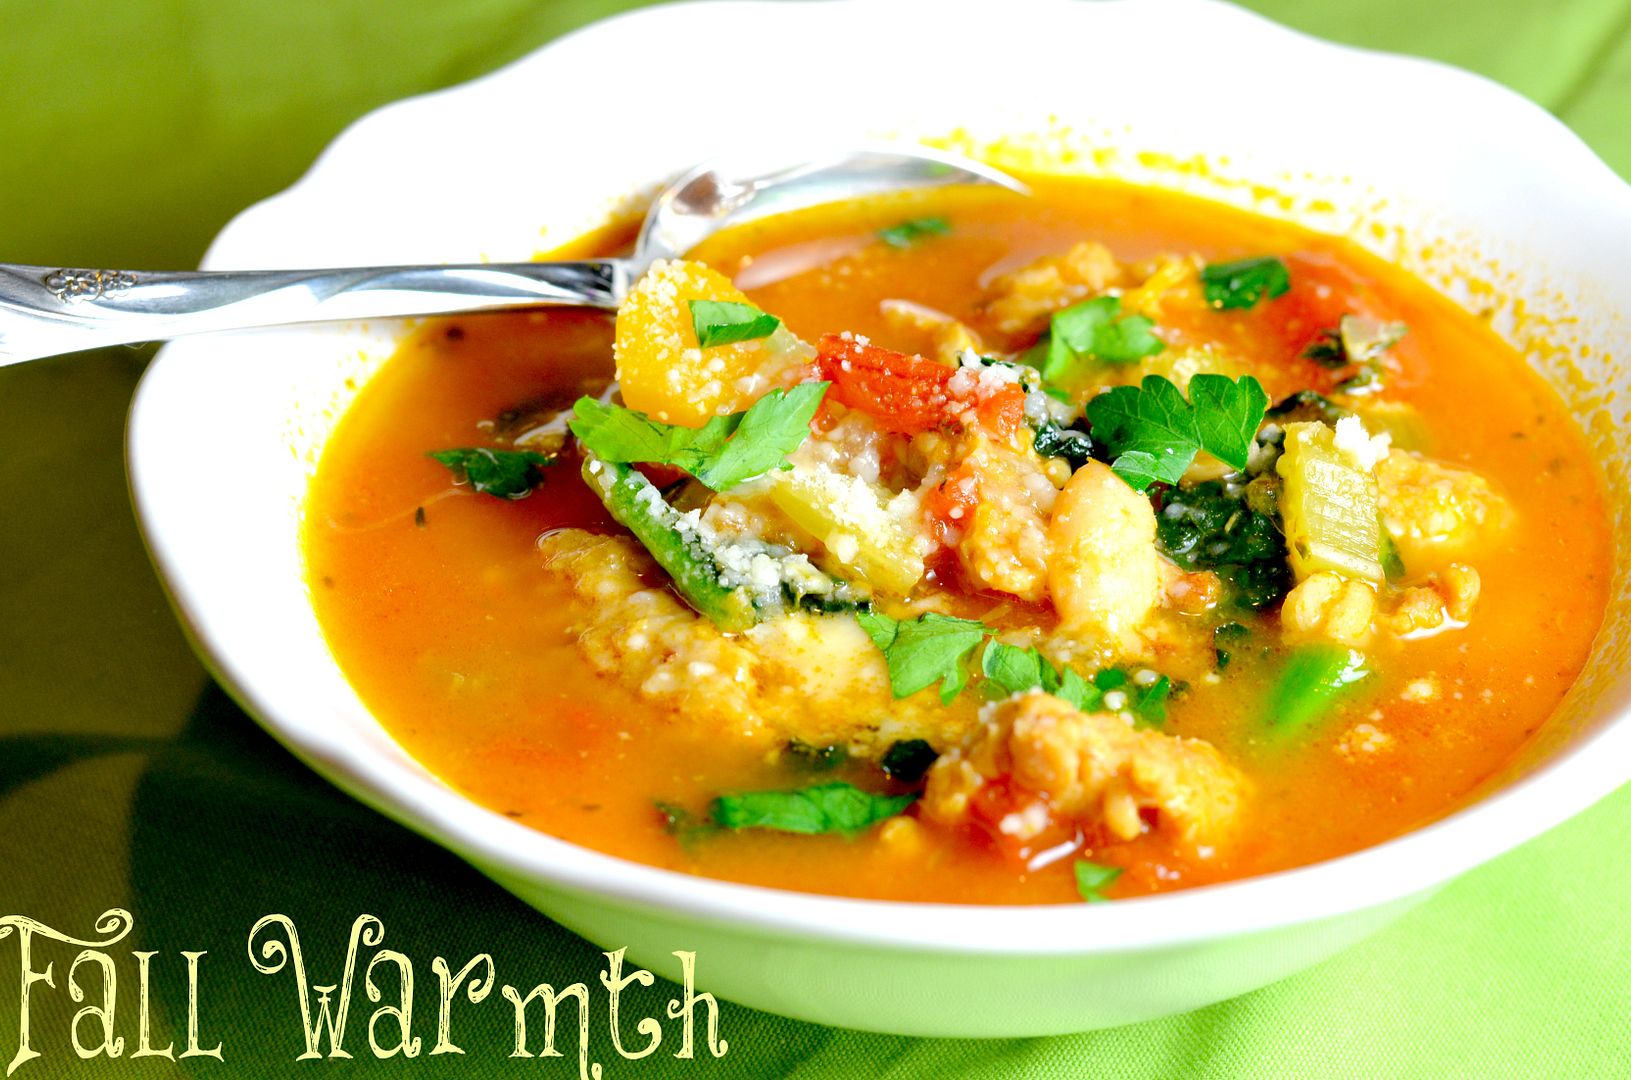
There are many reasons I like soups, hearty soups as you can see from my blog. If hearty enough, they're a complete meal. You can add a slice of crusty bread or just eat it on its own. You can make it ahead and freeze in 1-2 size portions that you can pull out of the freezer when you need it. They're also an easy way to eat a lot of vegetables in one yummy meal...and they taste good.  So when the weather cools down a bit, I pull out my soup pot and make a big batch. 

I've include butternut squash and kale in this Fall version but you can add whatever you like. Some things you could add are small pasta, potatoes, sweet potato, spinach...and on and on. That's the best part about soup, you can add whatever you like. Just start with your protein, then a base of onions, celery, carrots and garlic. Add tomatoes and broth and any additional veggies you like. Cook until the startch/veggies are done. Wala!

Fall Minestrone

2 Tablespoons oil
1 lb chicken sausage
1 1/2 cups chopped onion
2 cups chopped carrot
2 cups chopped celery
2 1.5 cups or 1 butternut squash trimmed and cubed
4 cloves garlic, minced
2 tablespoons chopped fresh thyme
1 bay leaf
1 (15oz) can cannellini or great northern beans
1 28oz can tomatoes (any kind)
4 cups chicken broth
1 bag or 5-6 cups chopped kale
1/2 cup white wine
2 tablespoons store bought pesto
Pecorino Romano Cheese
Salt and pepper

In a large soup pot, add 2 tablespoons oil. When hot add your sausage and when almost cooked through, add the onion, carrot, celery, squash, garlic and thyme cooking over medium heat for about 8 minutes. Add the canned tomotoes, chicken stock, the bay leaf, 1 tablespoon kosher salt, 1 1/2 teaspoons pepper. Cook for about 20-30 minutes or until the squash is cooked through. 

Remove the bay leaf and add the beans and kale. It will look like to much kale but just stir it around. It will shrink down just like spinach. Then stir in the white wine and pesto. Check for seasoning and add more salt and pepper if needed. Turn it on low if planning to serve right away. Let cool if planning to freeze in individual portions. When ready to serve, spoon into individual soup bowls and add a tablespoon (or more) of Pecorino to each bowl. Serve hot. Serves 8.

Thursday, October 10, 2013

Breakfast Sausage


Happy Fall! I can't believe it's almost mid-October. Fall is my favorite season so I hope it slows down a bit so I have time to enjoy it. 

Over the last few months, I've been gradually trying to change my diet to eat more natural foods and less processed items and I'm not just talking about Cheetos. I'm mean trying to eat everything more in it's natural state rather than from a box or bag. It's challenging at times. Especially when you're in a hurry or out and about. 

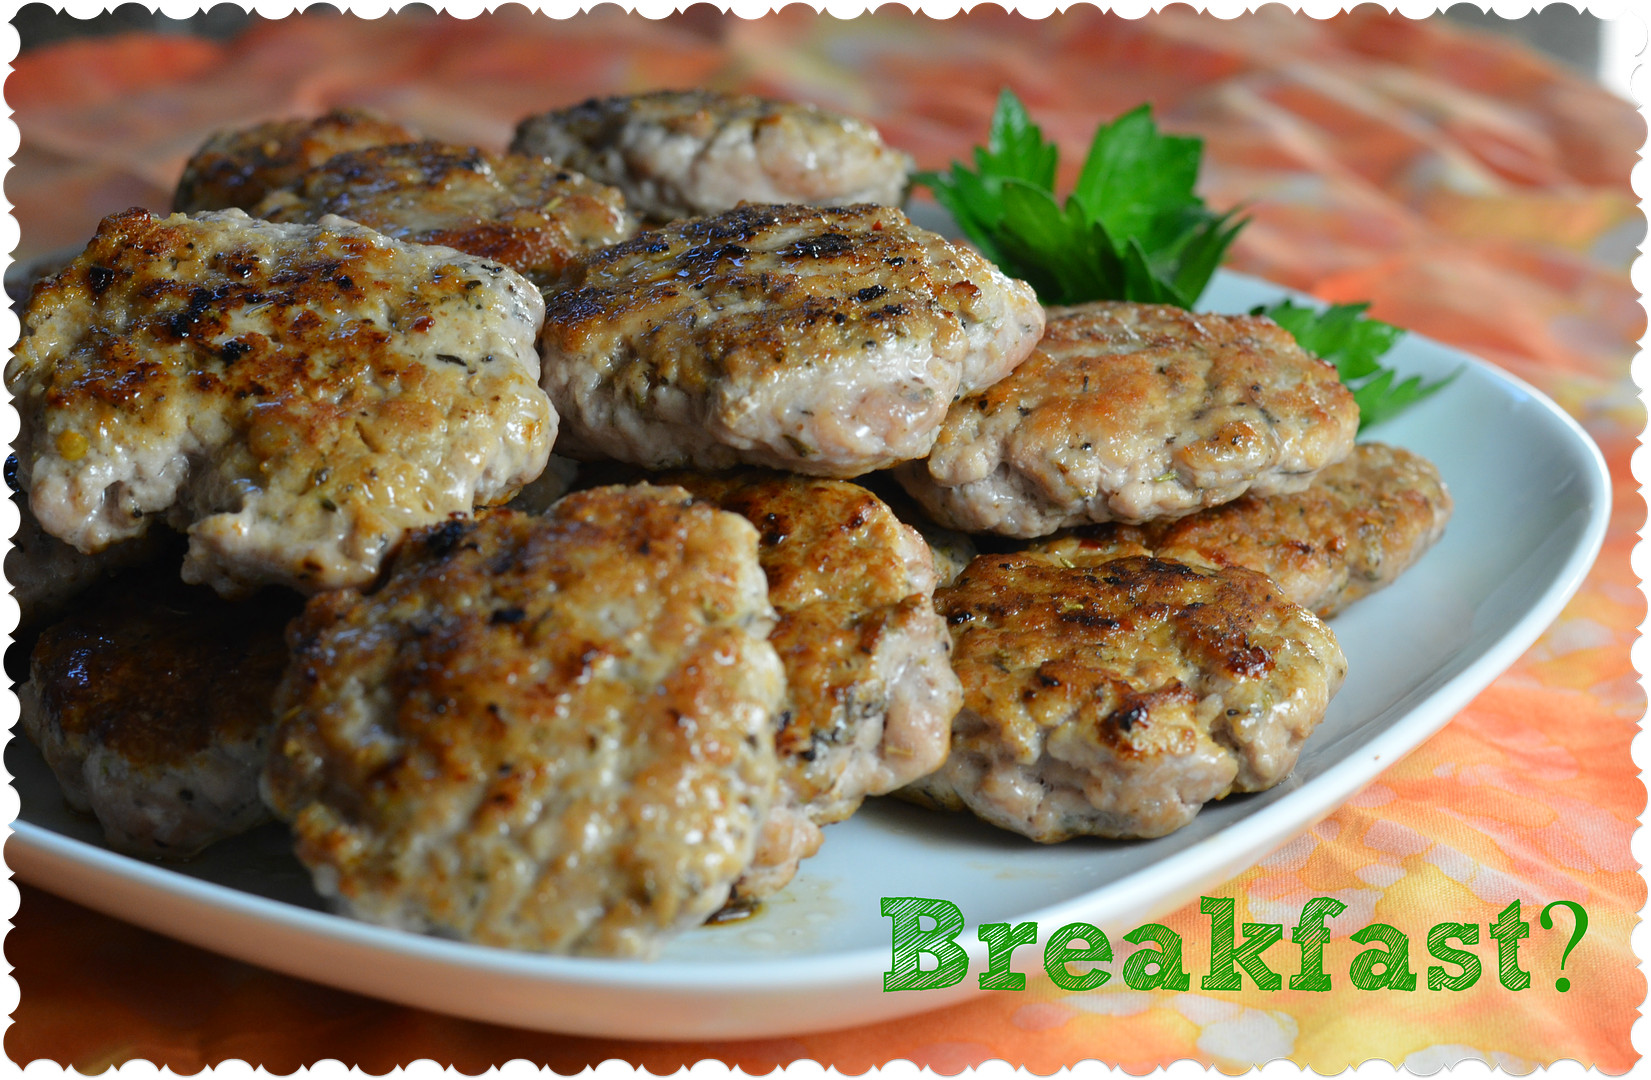
I love sausage and bacon but I know eating nitrate free is better for you and the sausage and bacon that you find that is nitrate free is REALLY expensive. I have found that it doesn't necessary taste that great either. With memories of Martha Stewart, I decided to make my own sausage. The first batch tasted great but was as hard as a hockey puck. Definitely overcooked. Round two, I pulled out my meat thermometer and checked the sausage after each side was browned. It doesn't take long for them to reach around 150 degrees which was when I took them off the heat. The second batch turned out much better and tasted very similar to what you would find in a box at the grocery store - and are much cheaper. I used 2 lb. of ground pork and got 19 2oz patties. Next I'm going to buy a pork roast and grind my own meat. This will cut the price even more. Definitely a Martha move. I'll let you know how it goes. 

The key to good sausage is having enough fat in the meat, at least 10%, and not overcooking it...as I found out. Make sure you have a meat thermometer that you can test your meat with as it cooks. I would take it out of the pan when it is at or around 150 degrees and then let it rest and it will continue to cook. It will stay nice and juicy this way. Feel free to add whatever spices you like. If you don't like as much sage cut back on this spice here. I cook them all up and then freeze them in batches so I can pull out what I need.


Homemade Breakfast Sausage

2 pounds ground pork (you can use a mixture of pork/turkey)
2 teaspoons salt
1 teaspoon ground pepper
2 teaspoons dried sage
1 teaspoon dried thyme
1/2 teaspoon dried rosemary
1/2 teaspoon dried marjoram
1 tablespoon brown sugar
1/2 teaspoon ground nutmeg
1/2 teaspoon red pepper flakes
1/2 teaspoon cayenne pepper (optional)
1/4-1/2 cup coconut oil or some other frying oil

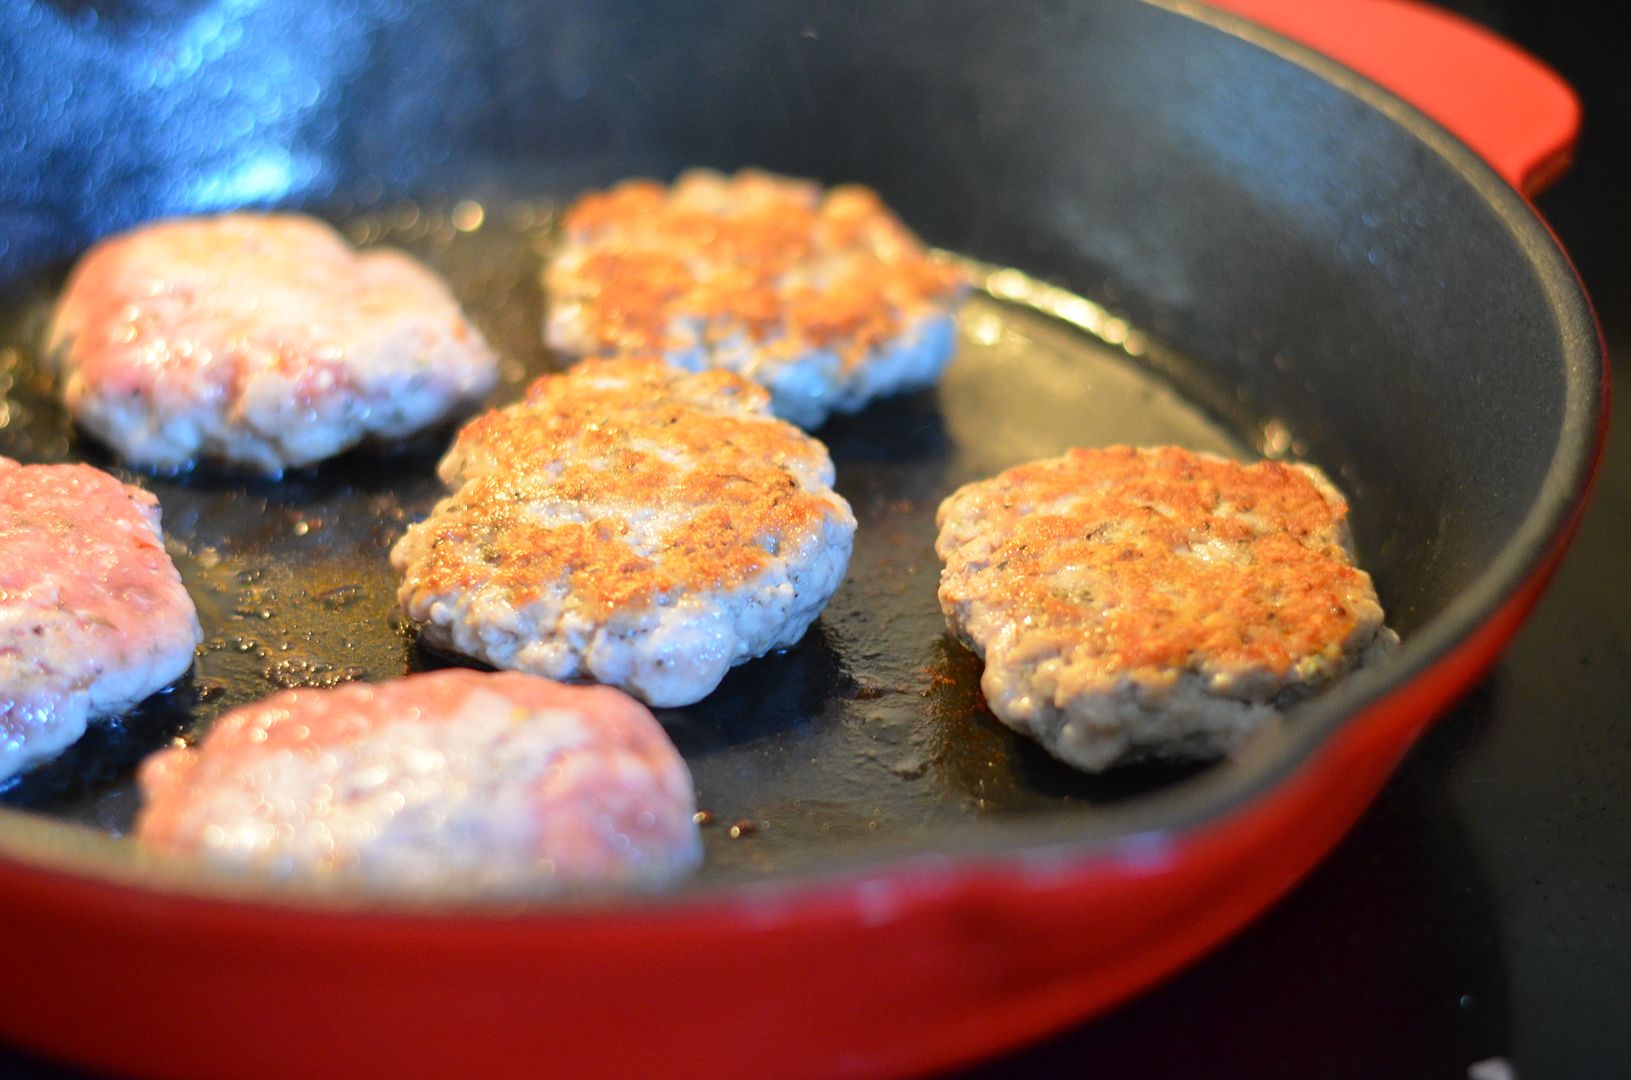
In a large bowl, add the pork sausage. In a small bowl, add all of the spices and mix well. Combine the spices with the sausage and mix with your hands until well combined. Form into patties (whatever size you like). Heat a cast iron skillet or frying pan until hot, add two tablespoons of coconut oil. When melted, add some of the patties. Don't crowd them. You'll have to do several batches. Add additional oil to the pan with each batch. Cook until brown on each side and then check the internal temperature with a meat thermometer. When the patties reach between 150-160 degrees, remove from pan and let cool. Don't overcook. Makes 19 2oz patties.


Tuesday, September 10, 2013

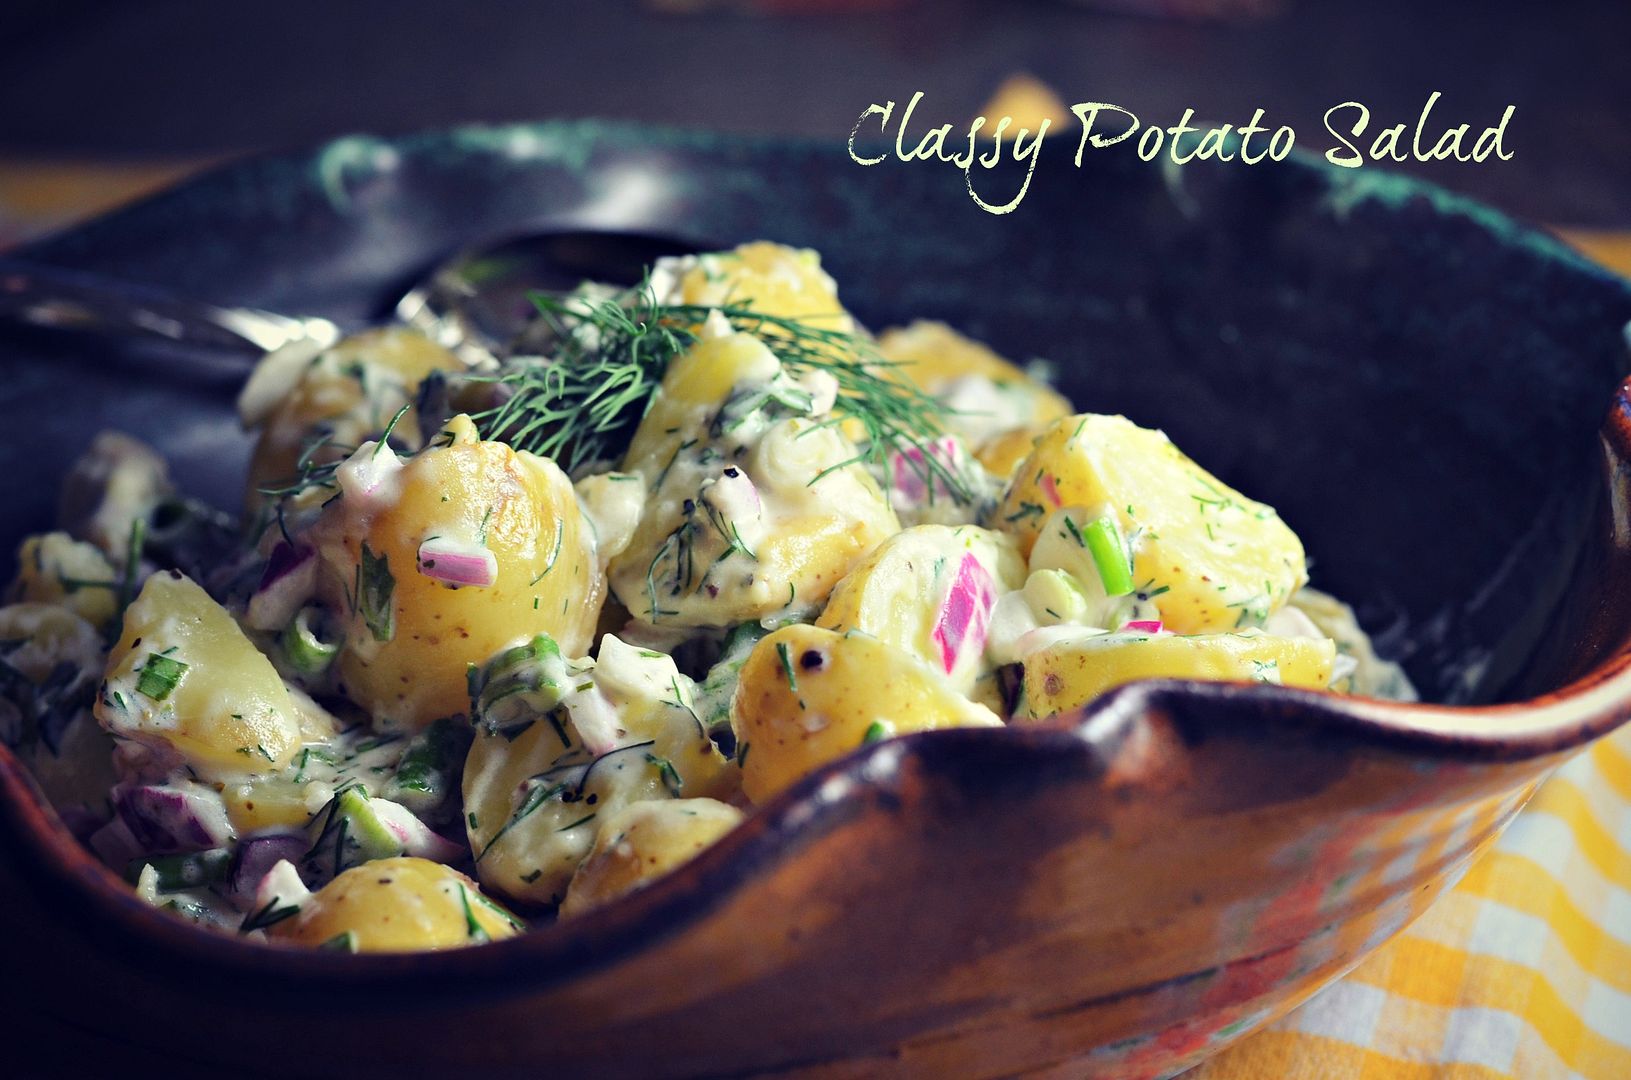
Tarragon & Dill Potato Salad


There are a lot of really good potato salad recipes out there but when I saw this recipe, I just had to try it because I LOVE fresh herbs. I know many people don't cook with fresh herbs but I have found that the more I do, the more I love them and the flavor they add to dishes. You would not believe the flavor they add to this salad.

Tarragon is a popular herb used in French cooking and is really good in chicken, fish and egg dishes. It has a slight anise flavor but when combined with the dill it's very subtle. The dressing is tart with lemon, mayo and vinegar. The key to this salad though is seasoning. You need to season every step of the way on this one. Salt your potato water, your dressing and then do a final tasting to make sure the dressed salad has enough to balance out the tartness of the dressing.

I have served this with barbecue chicken and scallops so far. I think it would be great with any meat or fish dish though. It's one of those salads that I now crave. Imagine that! 

I know many of you don't like raw onion. I'm not a fan either but here's a tip. While your potatoes are cooking, chop up your red onion and soak them in a bowl of ice water. The water will take out the sharpness of the onion and leave you with a sweet crunch that is much more bearable. I do this all the time now if I need to use raw onion in a salad.

Hope you give this one a try. I think you'll enjoy it!

********************************************************************

Tarragon & Dill Potato Salad

1 lb. Yellow Dutch or Yukon Gold potatoes, cleaned (I leave the skin on but you can remove if you prefer)
1/2 cup mayo
1/4 cup chopped red onion
1 tablespoon lemon juice
1 tablespoon champagne vinegar (or white wine vinegar)
2 tablespoons chopped fresh tarragon
2 tablespoons chopped fresh dill
2 stalks of green onion, chopped
Kosher salt
Black pepper

Cut the cleaned potatoes into bite size pieces so that they are all close to the same size. You want them too all cook at the same rate. Add potatoes to a large pot of cold water. Add about a tablespoon of salt to the water. Bring the water to a boil and cook the potatoes until fork tender - 10-15 minutes. Don't overcook them though. Watch them closely. Drain the potatoes and cover with a dish towel for 10 minutes. 

In a small mixing bowl, add the mayo, lemon juice, 1 teaspoon kosher salt, pepper, and vinegar. Mix well. In a large mixing bowl, add the still warm potatoes, the mayo, herbs, and onions. Mix gently so you don't break up the potatoes too much. Taste for seasoning and add additional salt and pepper if needed. Let the salad sit for 30 minutes to the let the flavors develop before serving. Enjoy! Serves 4-6.

Adapted from the Barefoot Contessa
Print Recipe


Sunday, June 9, 2013

Balsamic Roasted Green Beans


I've been traveling quite a bit over the last couple of months and then had family visiting for Memorial Day weekend.  Had a really great time all around. I'm loving my work...who knew that could happen.  I really like the women I work with and it's nice to be able to say/hear "she must be PMSing" when one us of is in a bad mood. We all have different strengths that we play off of. I think that is why we all get a long so well.  


Next weekend I'm getting a new kitten. Here's a picture of her. No name yet. I have a few ideas. I've never had a kitten before so this should be interesting. She'll be fun to have around and I've always wanted a cat and a dog together so this is the start of my growing family that I never had. I'll let you know how it goes.


Yesterday it was 106 degrees here. So freakin hot especially when your air conditioner isn't working. Luckily there is a pool in the complex so I went and cooled off there. Amazing how much a dip in the pool can cool you off. I came back to my house and it was 87 degrees inside and it really didn't feel like it until maybe two hours later when I was trying to go to sleep. A little warm for sleep. Today is cooler though and I am so glad!

Okay, to the beans. These bean may not look edible but they taste like CANDY. Seriously! It's one of those wow moments. You know, you hesitantly bite into something and your tastebuds tune in, suddenly your brain registers and sends a message of OMG, these are good! The combination of the caramelized green beans and the balsamic sauce create a SWEET green bean. I think your kids will even like these.


Balsamic Roasted Green Beans

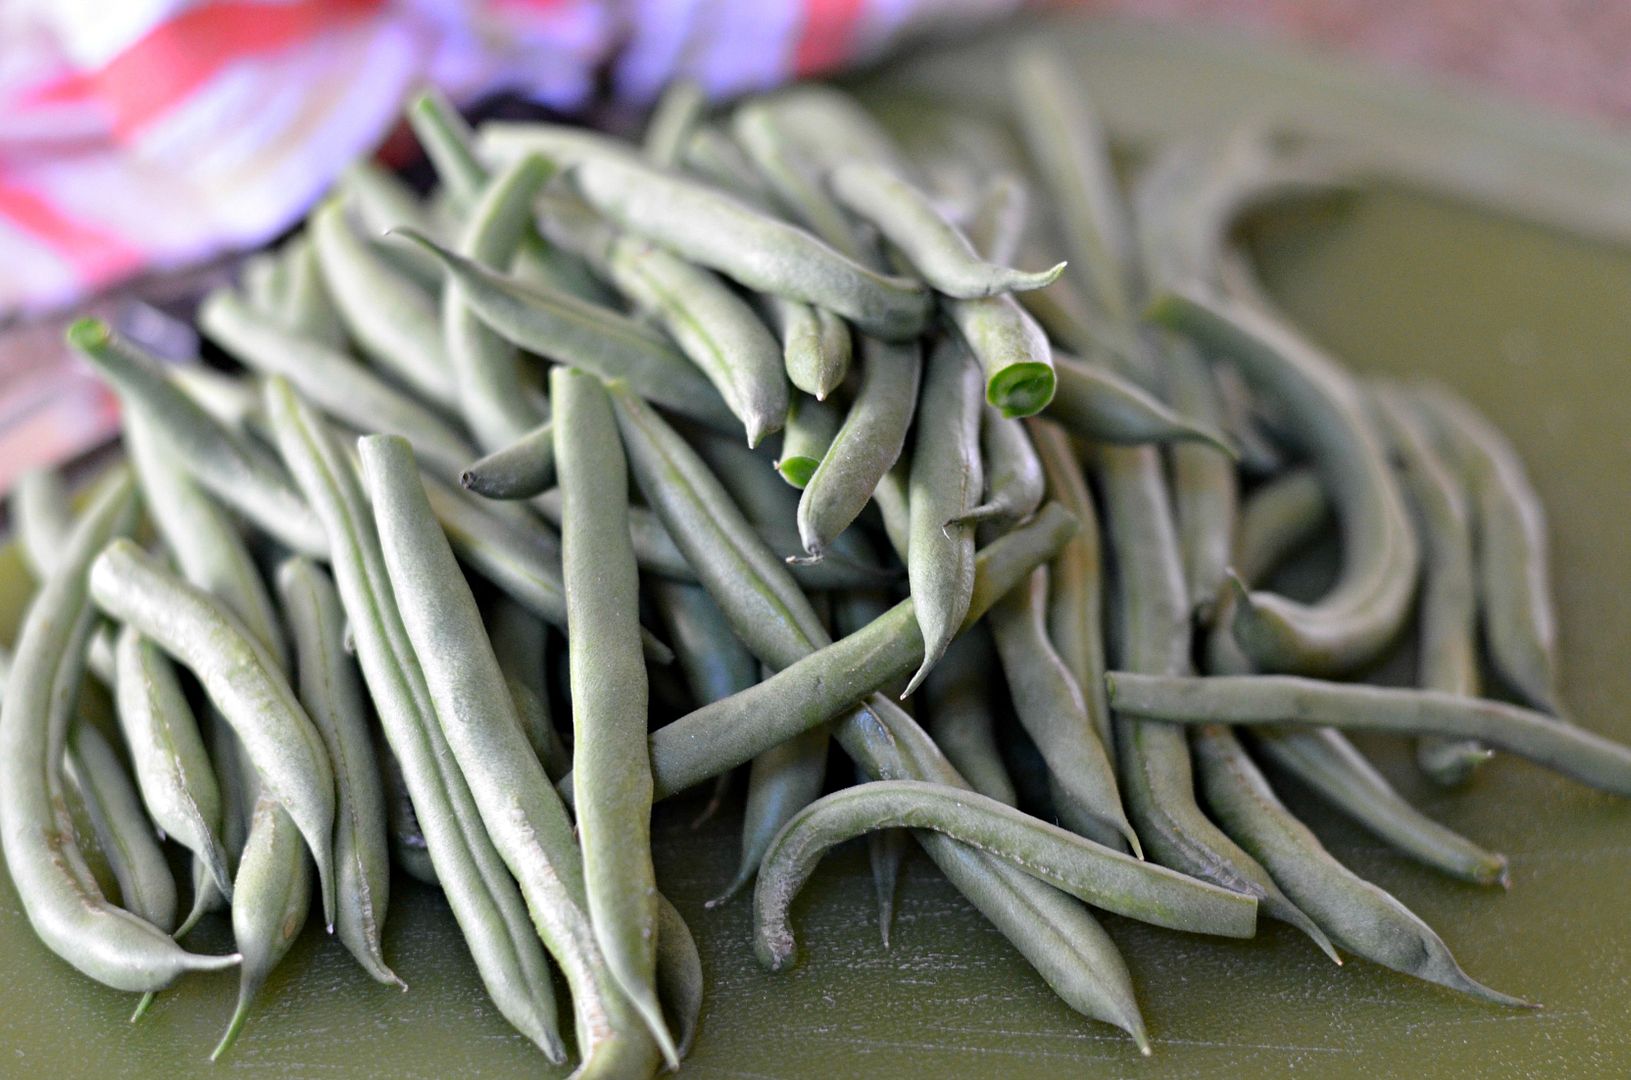
1 lb. green beans, washed and stems removed
1/2 red onion, sliced 
1 tablespoon olive oil
Salt and pepper
1 tablespoon balsamic vinegar
1 teaspoon honey
1 teaspoon minced thyme
2 cloves garlic, sliced
1/3 cup toasted, roughly chopped walnuts

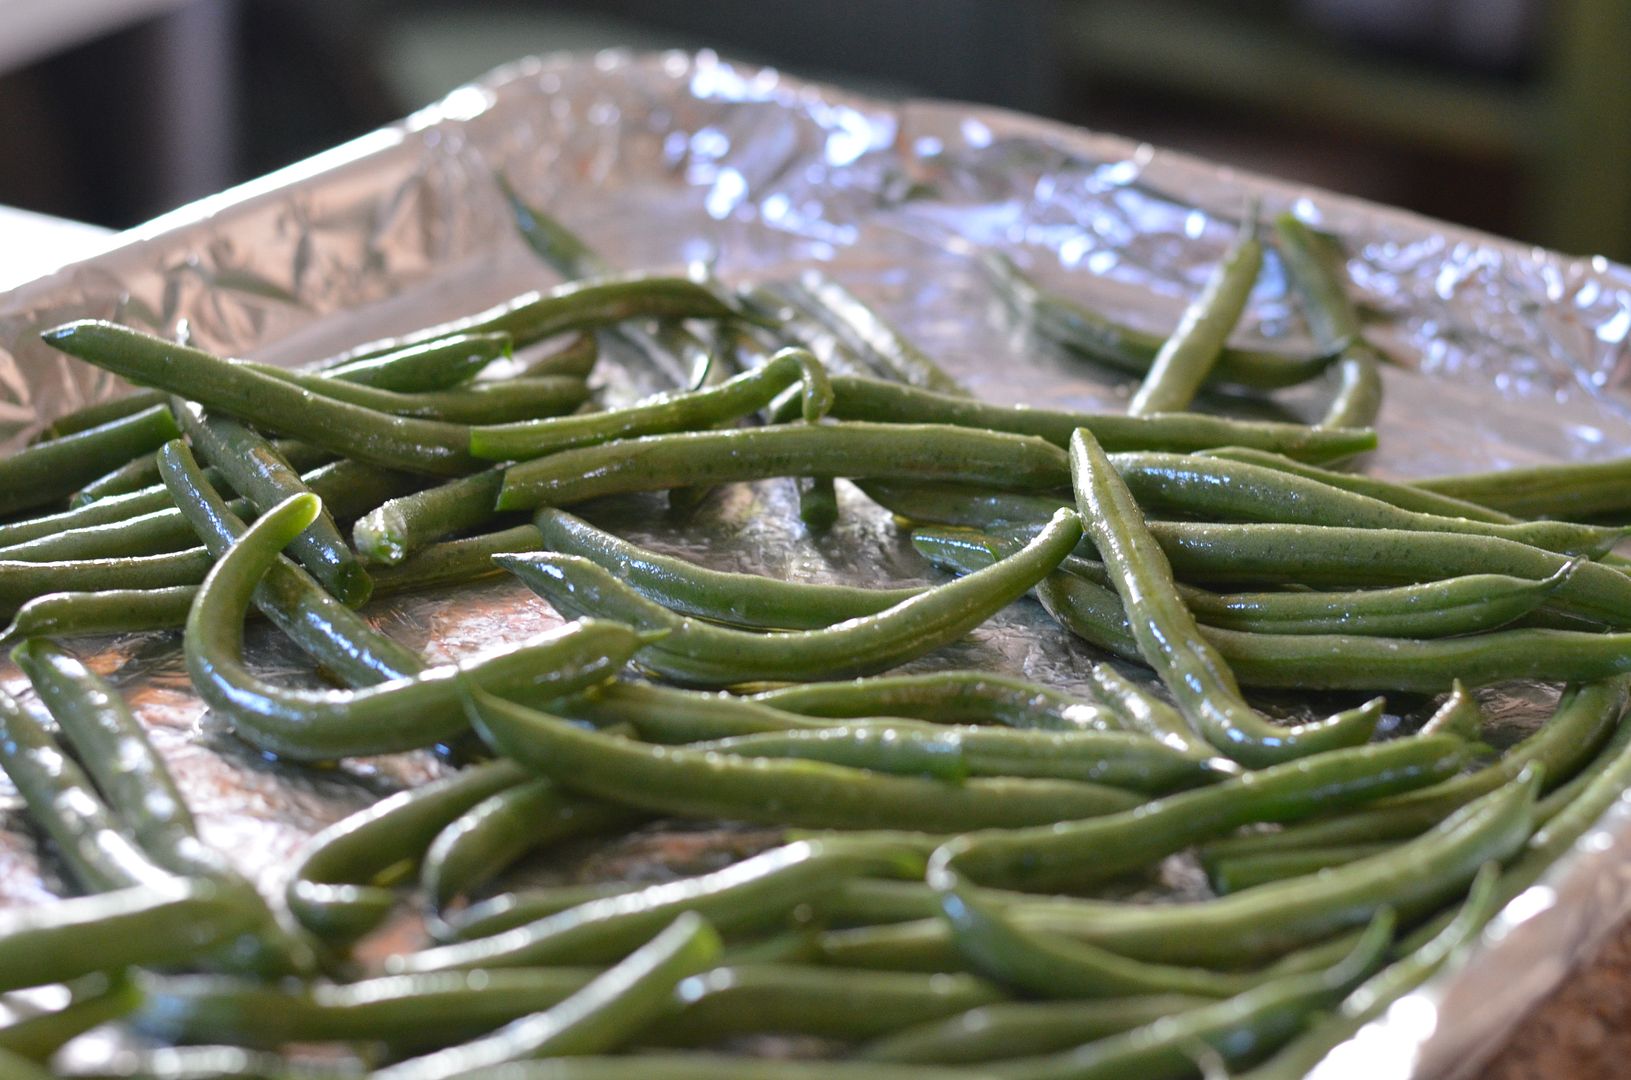
1) Cover a baking sheet with foil and add your washed, dried and trimmed green beans. Toss with red onion, olive oil, salt and pepper. Roast in a 450 degree oven for 10 minutes.


2) In a small bowl, combine balsamic, honey, thyme, garlic. Remove beans from oven and using tongs, coat the beans with the balsamic sauce. Continue roasting until beans are a dark brown caramelized color and have started to shrivel, 10-12 minutes longer. Taste one for seasoning and add salt and pepper if needed.


3. Transfer beans to a serving bowl and sprinkle walnuts on top. Serve.

Serves 4

Adapted from Cook's Illustrated
Print Recipe

Saturday, May 4, 2013

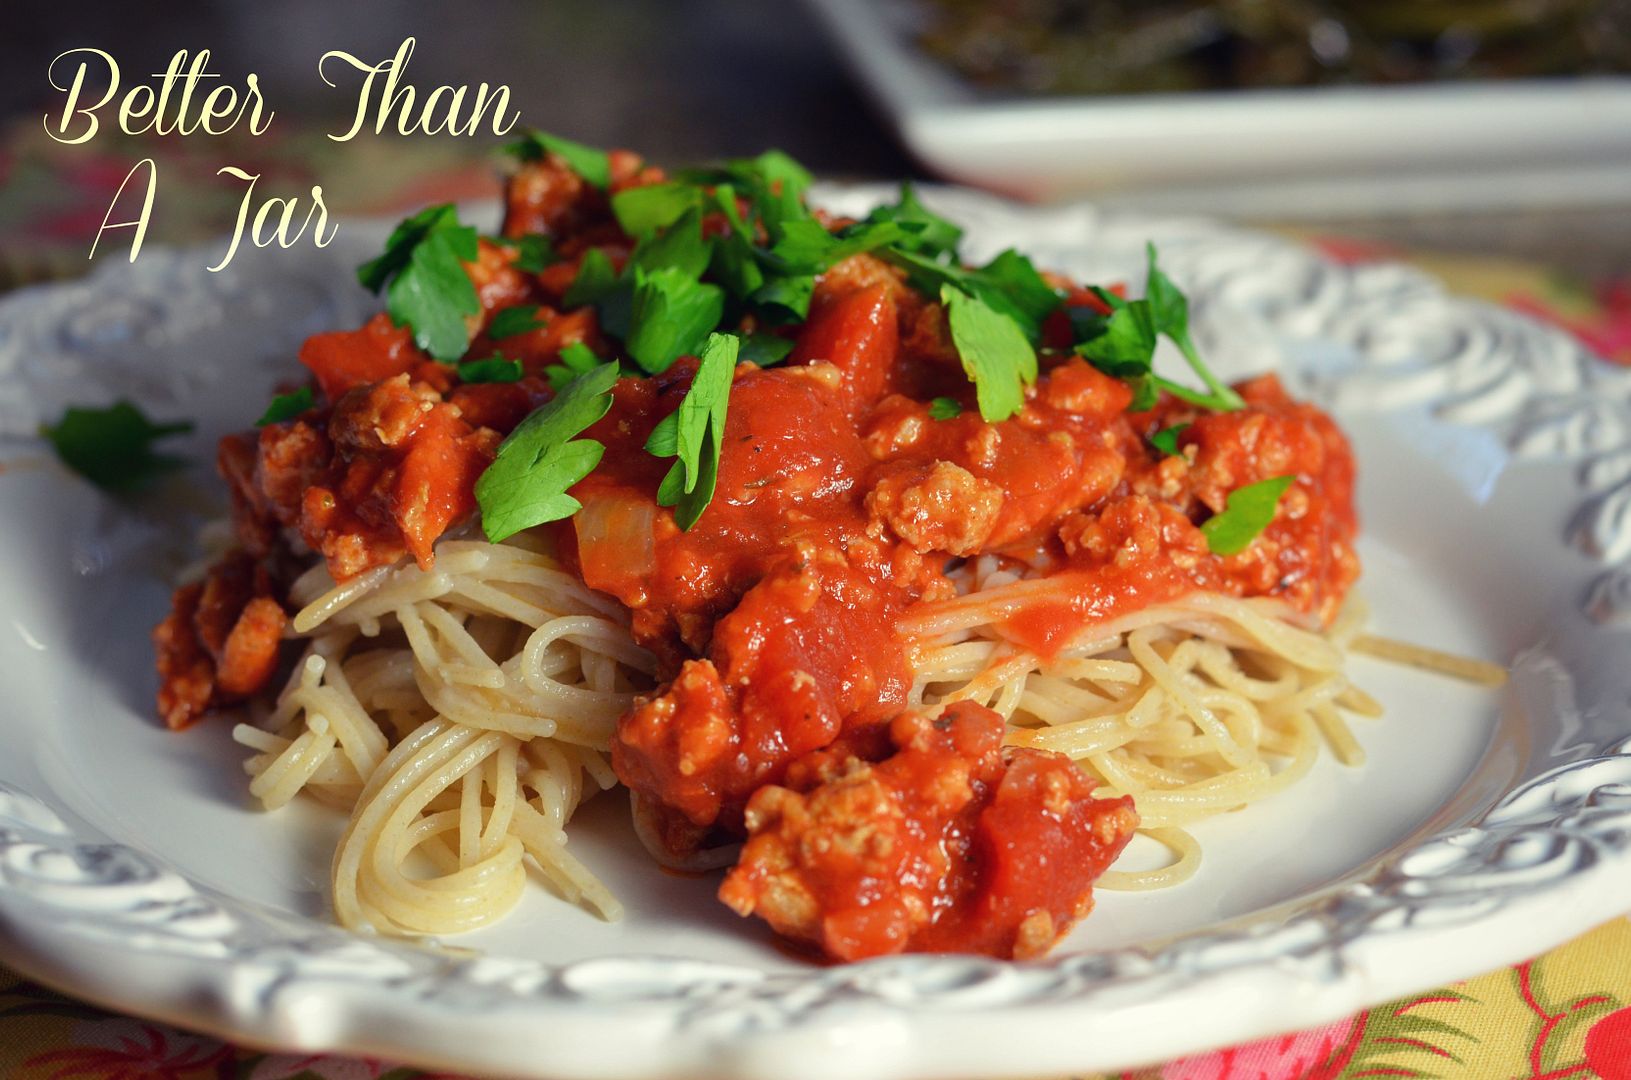
EASY Homemade Spaghetti Sauce


I took a blogger break. You know how writers have writer's block? I had bloggers block. Not only that, but nothing I have cooked lately seemed to taste good. It could be that I'm trying not to eat gluten, wheat, eggs or dairy. I found out that I have some allergies to all of them. Not outwardly but who knows what kind of inflammation it creates on the inside.

Now I know there are a lot of good recipes out there that don't call for these ingredients but it seems like when you can't have something, it's hard to think of or find recipes that don't have them. It's a new challenge for me. It's definitely easier to make food taste good when you add cheese and butter to it but much more of a challenge when you don't.

This is a recipe that I got from a good friend about 20 years ago. She made it for me a few times and it was always delicious. We've lost touch but I always think of her when I make this sauce. It only takes a few ingredients that you probably have on hand. Not only that, but you control the ingredients and most importantly the sugar content. What's interesting is that the fennel seed gives the sauce a sausage like flavor. It's great because you don't have to have sausage in it for it to taste like sausage. I served it here with my favorite gluten free pasta called Jovial.

Enjoy and I'll be back soon.

Spaghetti Sauce

1 tablespoon olive oil
1/2 onion, chopped
1 teaspoon fennel seed
2 garlic cloves, chopped
1 lb ground beef, turkey, sausage or a combination of these
1 can diced tomatoes
1 8oz can tomato sauce
1 6oz can tomato paste
1 can small black olives, sliced or diced with juice (optional)
1 1/2 teaspoons basil
1/2 teaspoon oregano
1/2 teaspoon thyme
1 tablespoon sugar
Salt and Pepper
Fresh basil and parsley, chopped (1 tablespoon each) garnish, (optional)

Combine first five ingredients in a sauté pan, salt and pepper, and cooked until meat is brown. Add remaining ingredients and simmer for 10-15 minutes. Taste and season with more salt and pepper if needed before serving. Serve with parmesan cheese.

Print Recipe


Saturday, March 30, 2013

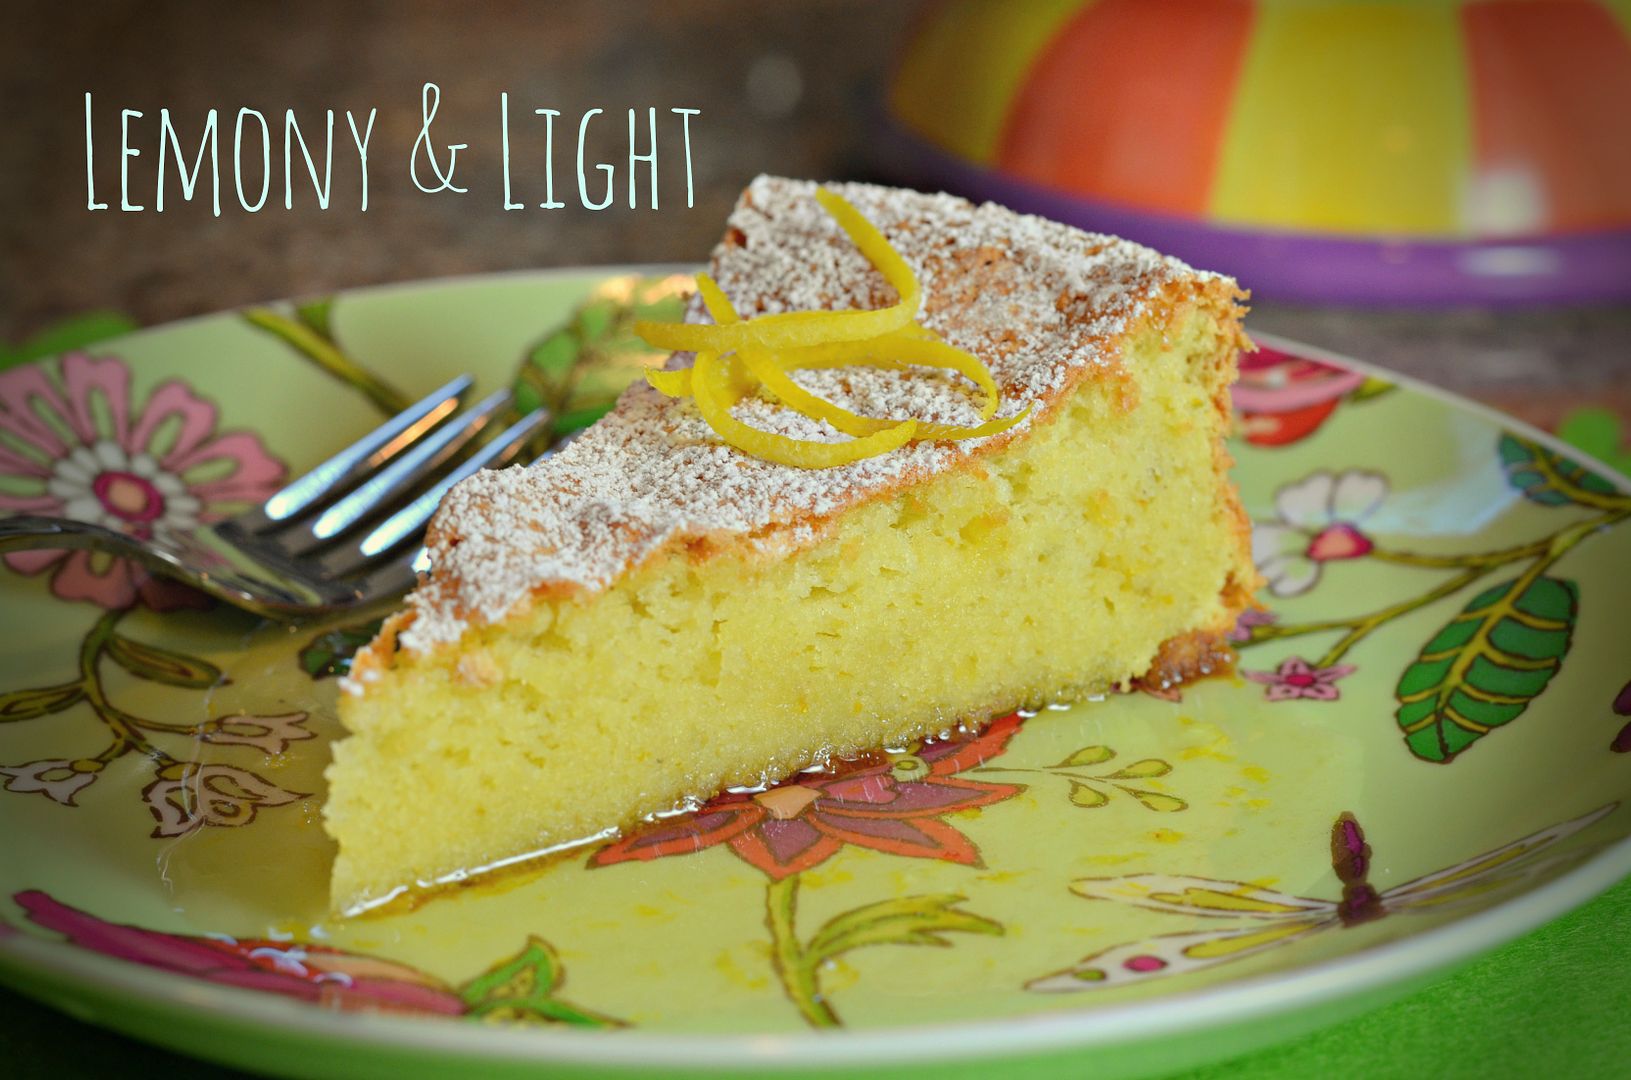
Lemon Almond Cake (Gluten Free)


Happy Easter! I hope you're having a good holiday weekend.

It's thundering outside right now and I am so excited. I have everything turned off so I can hear it. Probably sounds crazy but it must be because I grew up with thunderstorms and really miss them. My brother and I both feel the same way. It reminds me of really hot summers in the south and a thunderstorm would roll in and cool everything off...for about five minutes.

I'm trying to cut gluten from my diet. For a while anyway. We'll see how it goes. I know it can't hurt and maybe it will make me feel even better. Now if I could only cut out sugar, I'd really be getting somewhere. But one step at a time.

Here's a really nice, light and bright tasting dessert. I added a lemon sauce to it just to send it over the top but you certainly can just do the cake and it will be delicious. You can always grind your own almonds in the food processor if you can't find blanched ground almond flour.

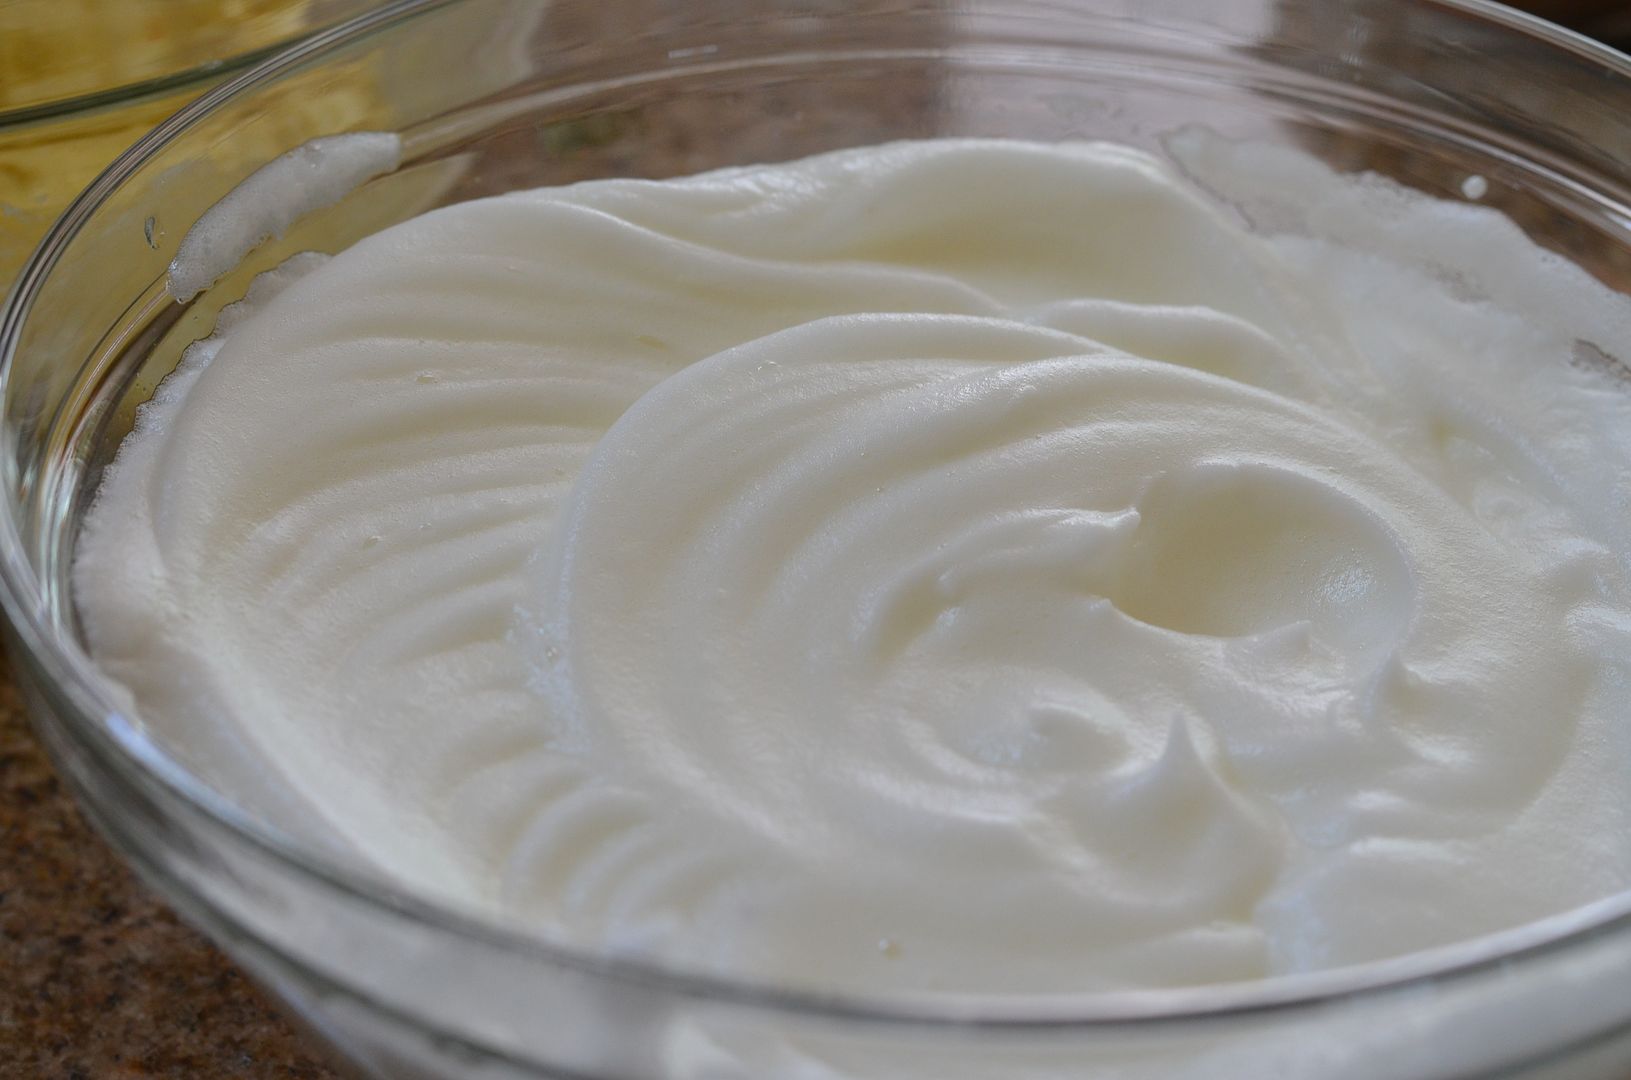
Stiff peaks...


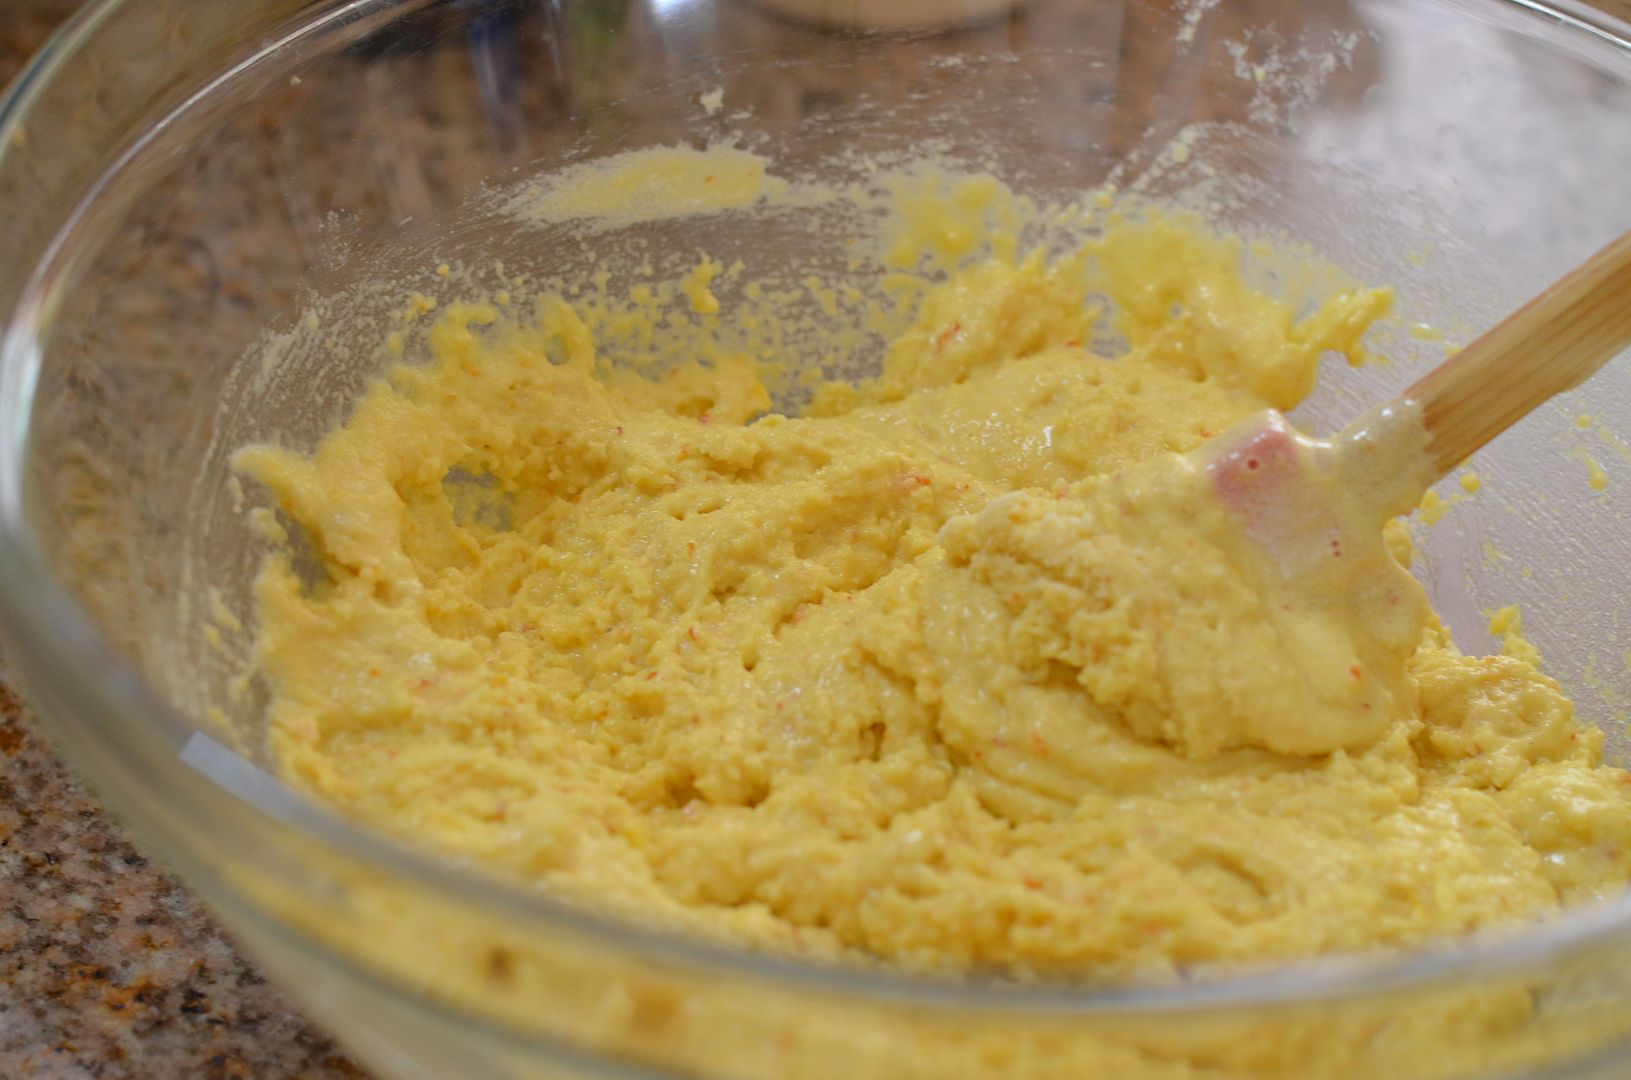
Almonds, eggs, sugar and zest


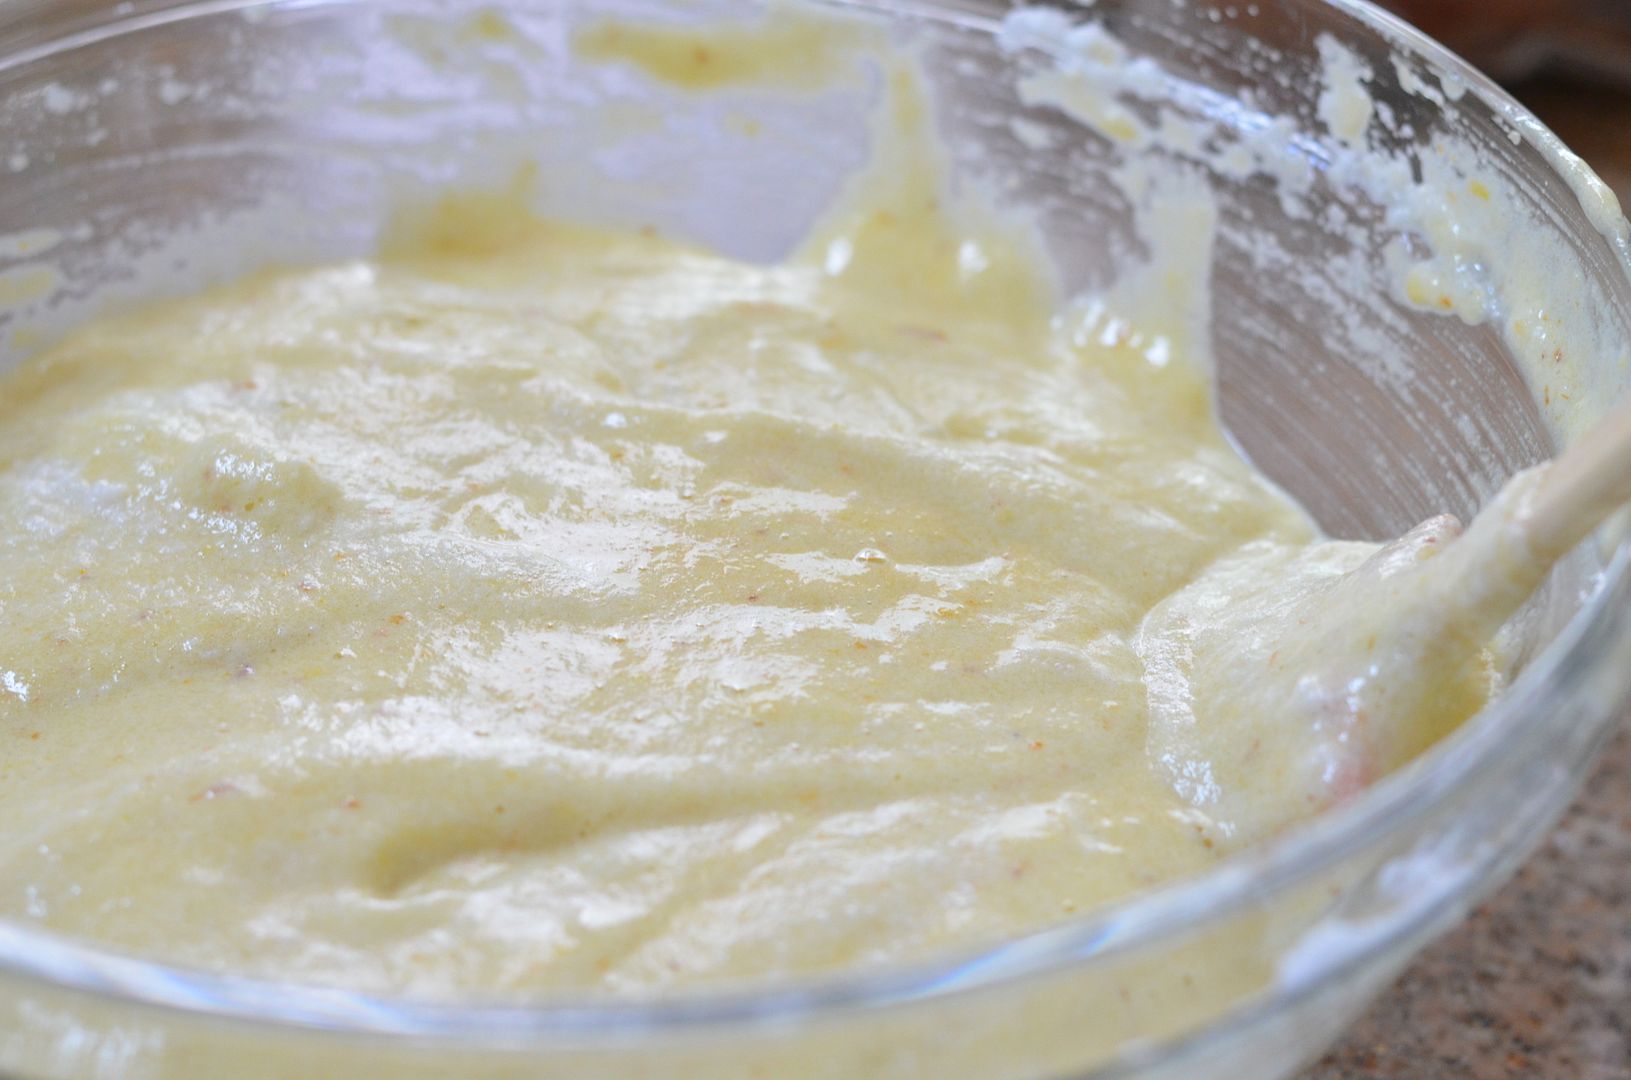
After you fold the egg whites into the egg almond mixture


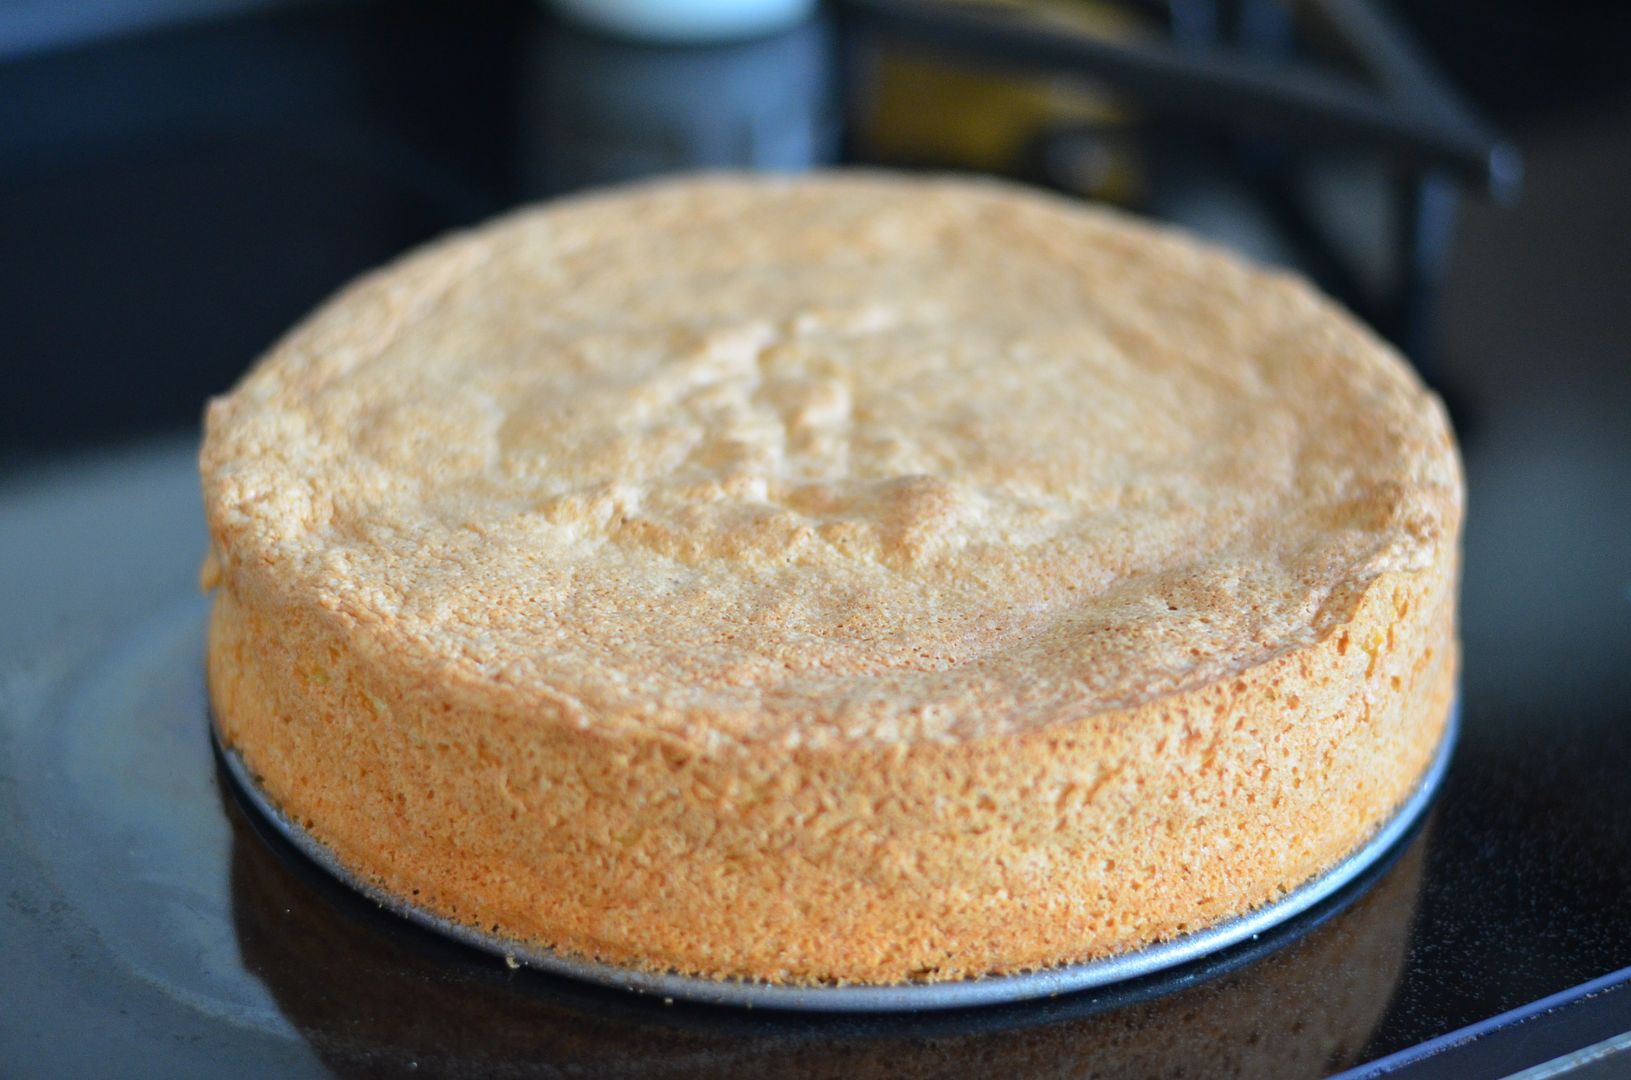
Just out of the oven...


Ready to eat!


Lemon Almond Cake

1/2 pound or 1 3/4 cup blanched ground almonds or almond flour
1 1/4 cup superfine sugar
6 eggs, separated
zest of two lemons
1 teaspoon almond extract
Confectioners' sugar for dusting

Preheat oven to 350 degrees. Blend the sugar and egg yolks together until a pale yellow. Add lemon zest, almonds, and extract and mix well. Beat egg whites in a separate bowl until stiff peaks form. Fold in egg whites gradually to the egg almond mixture. Pour into a greased 9 inch springform pan. Bake 35-40 minutes until firm to touch and lightly golden brown. Remove outside ring and let it cool completely. Sprinkle with powdered sugar and serve with lemon syrup below if desired. 

Lemon Syrup

1 cup sugar
1/4 cup lemon juice
Zest of 1 lemon
1/4 cup water

Bring all ingredients to a boil. Turn off heat and let sit for 20 minutes to thicken. 

Adapted from Epicurious
Print Recipe
Sunday, March 17, 2013

Easy Turkey Chili


Did you know the original color associated with St. Patrick's Day was blue and it slowly transitioned to green as early as the 17th century? Just a bit of St. Patrick's Day trivia for you. Are you wearing your green today?


I was craving chili the other day and saw this recipe. I changed a few minor ingredients and within 20 minutes, had a delicious lunch...and dinner on Sunday. That's what happens when you're busy and only cooking for one. You end up eating the same thing for lunch and dinner sometimes. Not so bad when it tastes good. Depending on how many times you eat it though, you may not want to see something resembling the dish for another 10 years.


I think chili can be really fun to make for a family or party. You can have a bunch of toppings set out for people to choose from like avocados, tomatoes, onion, cilantro, cheese, Fritos or tortilla chips. Let everyone add their favorite toppings. Really yummy.

Easy Turkey Chili


2 tablespoons oil (your choice)
1 lb. ground turkey (can use ground beef or ground chicken)
1 large yellow onion, chopped
3 cloves chopped garlic
1 tablespoon chili powder
1 teaspoon cumin 
1 teaspoon Lawry's Seasoned Salt
1 15oz can white kidney beans and juice
1 15oz can black beans and juice
1 15oz can fire roasted tomatoes with garlic
1/2 cup chopped cilantro
1 cup pepper jack cheese, grated (can use cheddar or monterey jack)
1 jalapeno, chopped (optional)
Salt and pepper

In a large saute pan, add your oil and heat pan to medium high. Add onion, jalapeno, and ground turkey. Season with salt and pepper. Cook until no longer pink. Add your spices and stir well to coat all the meat. Add in the beans with their liquid and tomatoes. Stir to combine. Heat to a simmer. Add a little more salt to season the beans and tomatoes. When hot, stir in cilantro and turn off heat.

When ready to serve add to serving bowls, sprinkle with cheese. Add optional avocado, onion, tomatoes, Fritos, hot sauce, tortilla chips, etc... 

Adapted from Sunset Magazine
Print Recipe
Friday, March 8, 2013

Chocolate Muffins (Gluten Free)


TGIF! It's funny how Friday is almost always a good day. Now Monday's on the other hand are usually the opposite only because you know you have a long work week ahead. But we always have the weekends to look forward to. I just wish they wouldn't go by so fast. Wouldn't it be nice to have a four day work week and three day weekends. I could definitely go for that. How about if we take a vote?

I know this is my second chocolate posting but can you really have too much chocolate? Chocolate makes even Monday's better.

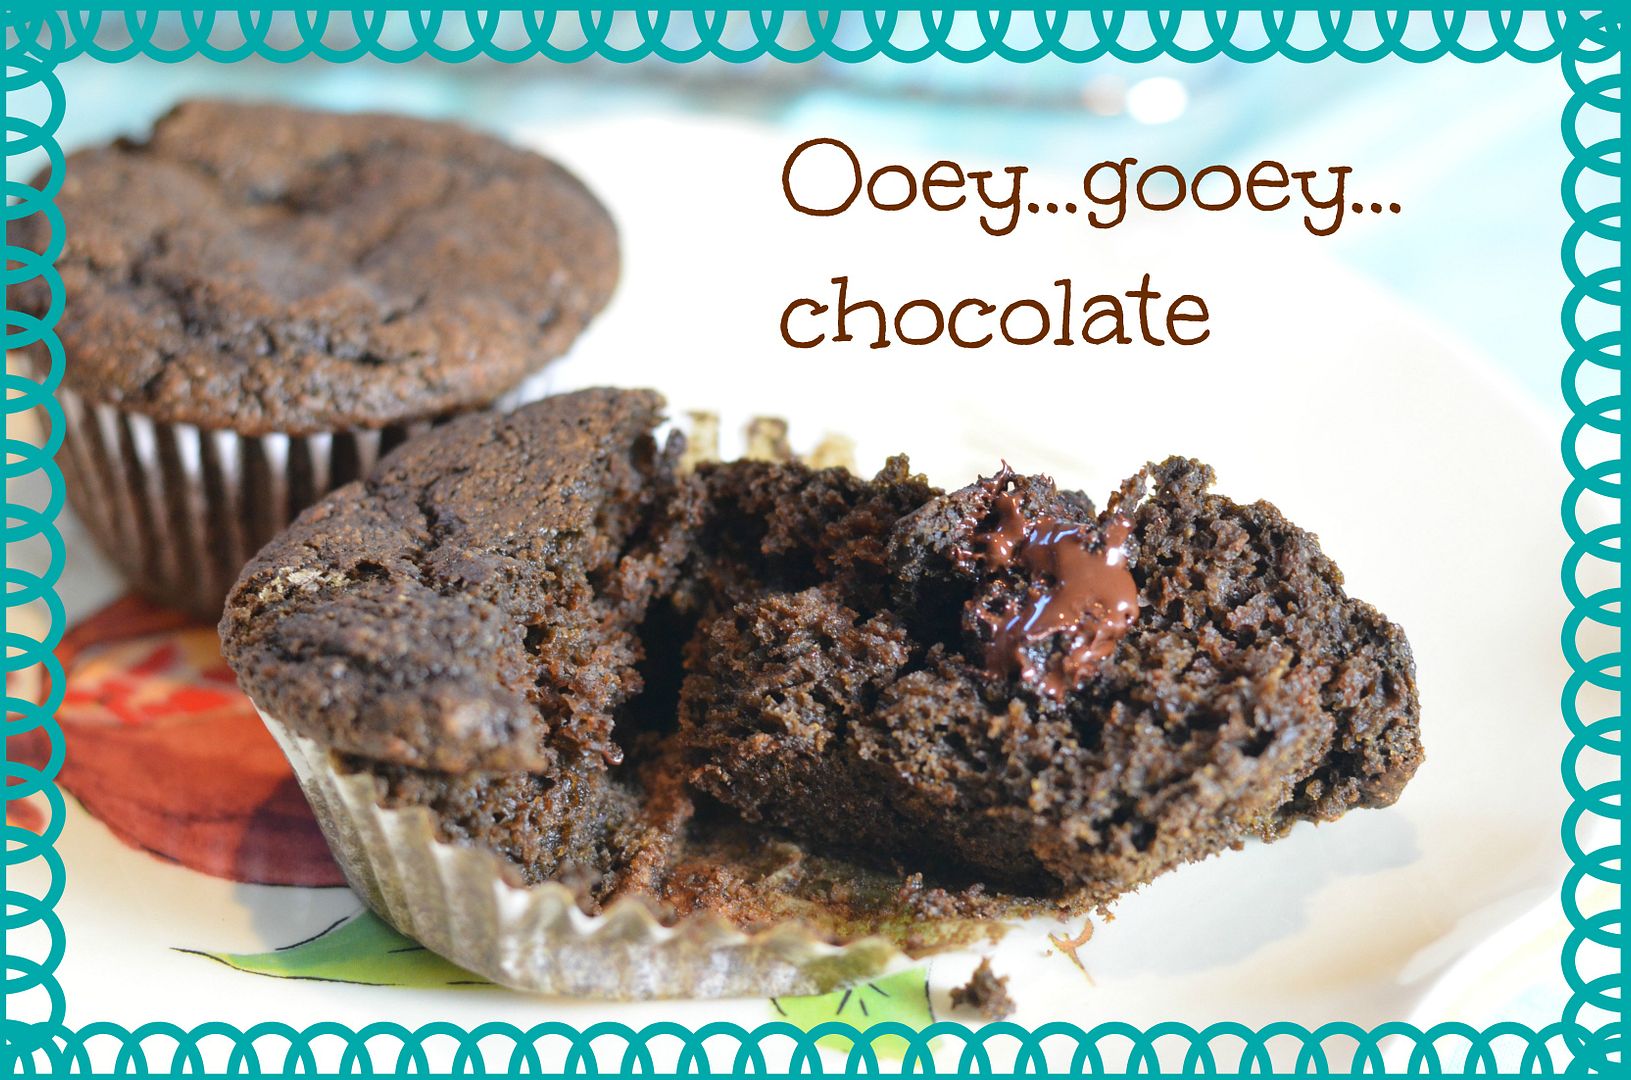
The difference with these muffins is that they're good any time of the day. Soft, chocolaty, moist and made with some extra good ingredients that no one will even notice like oat flour and flax seed meal. Even your kids will eat these. All you taste is... CHOCOLATE. They work great as a mid-afternoon snack. 

I've been busy with work the last few weeks so my postings have been a little behind. It's a good thing but doesn't leave a lot of time to be creative in the kitchen. I have a few recipes lined up though so stay tuned. 

CHOCOLATE MUFFINS

Wet Ingredients:
1 cup no sugar added applesauce
1/2 cup sugar
1 teaspoon flavorless oil (canola, grape seed)
1 teaspoon vanilla
1/4 teaspoon almond extract

Dry Ingredients:
3/4 cup oat flour
1/3 cup unsweetened cocoa powder
2 tablespoons flax seed meal (optional)
2 teaspoons baking powder
1/2 teaspoons baking soda
1/2 teaspoon salt
1/8 teaspoon cinnamon
1/2 cup chocolate chips
Powdered sugar for decoration (optional)

Preheat oven to 350 degrees. 

Prepare a muffin pan with 9 liners. Doesn't hurt to coat them with cooking spray.

In a large bowl, whisk the wet ingredients together. In a smaller bowl, mix the the dry ingredients together, everything except the chocolate chips. Combine the dry ingredients into the wet ingredients. Mix well. Add in the chocolate chips. Spoon batter into the muffin cups. Bake for 20-22 minutes, rotating muffins half way through. Muffins are done when they are firm to the touch. Let cool on a rack. Once cool, sprinkle with powdered sugar. Makes 9 muffins.

Adapted from Bethanybakes 
Print Recipe 

Wednesday, February 13, 2013

Molten Chocolate Cake


Valentine's Day brings many sweet things to mind - love of course, roses, hearts, romance and the sweetest of all, chocolate. I couldn't think of a better recipe to share with you than a melt in your mouth, rich chocolate molten cake. I played around with this recipe a couple of years ago but couldn't get it right. I think this one turned out tasty and it's surprisingly easy to make. Top it off with some caramel ice cream and a few raspberries. Don't buy the pre-made kind or the box mixes. Make your own. It's so much more satisfying. 

This will be a short posting. I'm all out of words at the moment but wanted to share a recipe with you that I think is perfect for any evening you are craving something sweet and in particular, chocolate. I hope whether you share Valentine's Day with someone special or alone, you do something nice for yourself. You deserve it. XOXOXO

Molten Chocolate Cake

1/2 cup butter, plus more for the molds
6 oz bittersweet chocolate
3 eggs, room temperature
1/2 cup sugar, plus more for the molds
2 tablespoons flour
1 teaspoon vanilla
1 teaspoon instant espresso powder

Preheat your oven to 400 degrees.

Prepare 4 (4-6 oz) ramekins or molds by rubbing them with butter and then dusting with sugar. Tap out the excess sugar. 

In a medium saucepan, melt butter and chocolate over medium low heat. Stirring frequently to keep from burning. Remove from heat.

In a medium size bowl, beat eggs and sugar until egg mixture is pale and thick...takes about 5 minutes.

Add chocolate mixture to the egg mixture stirring constantly. Add in flour, vanilla, espresso powder and mix well.

Pour into the ramekins. You can refrigerate at this point and bake later. Bake for 10-12 minutes. The center will be soft but the outer edges should be set. Let them sit 5 minutes before serving. Add your favorite ice cream and enjoy!

Serves 4
Print Recipe
Sunday, January 20, 2013

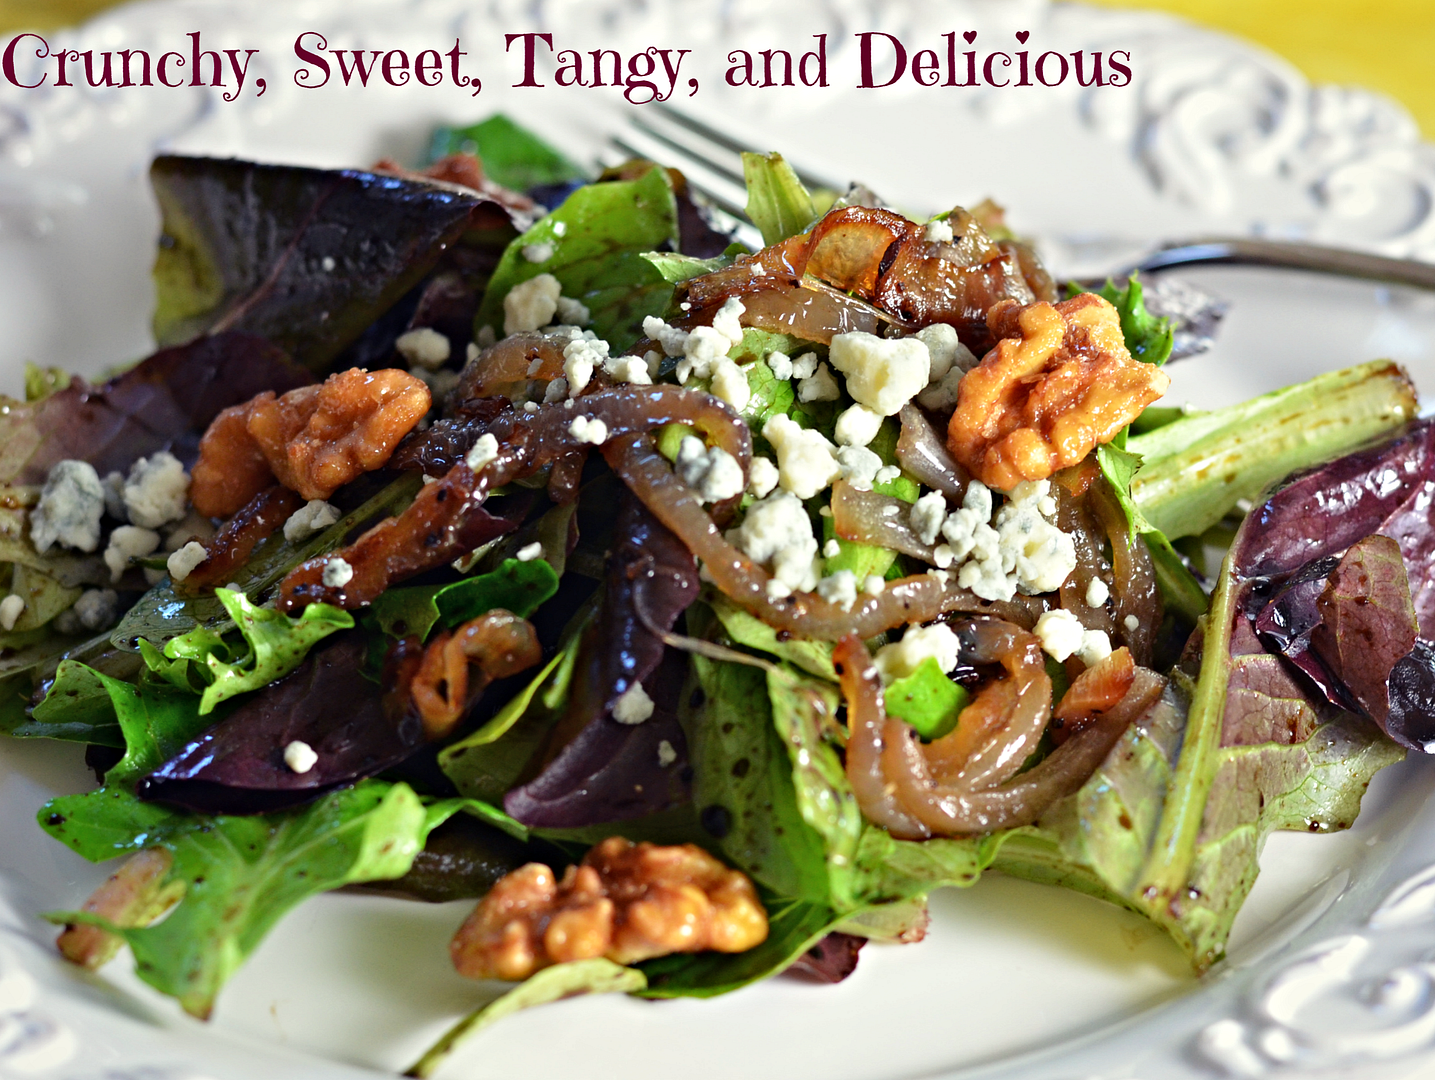
Caramelized Onion and Gorgonzola Salad


This is my favorite salad and has been for the last few years. Let's just say I make it A LOT and I could probably eat it everyday. It's the perfect combination of sweet, salty, crunchy and tangy all mixed together in a fresh salad. It's simple to make and it's a perfect first course. 

Because there are so few ingredients, it's important to use the best you can find. I buy a raw gorgonzola that I get at Whole Foods (their brand) and it's so good. It's creamy and not too strong. I also use a really good balsamic vinegar that's been aged a bit which makes it slightly thicker and sweeter. I use organic, fresh baby greens. The walnuts are slightly sweet and really crunchy. The onions...let's not forget the onions. As you know, when you cook them for 20-30 minutes, the creamy sweetness comes through. Have I made you hungry yet? 

All I'm saying is that you need to try this salad. 

Caramelized Onion and Gorgonzola Salad 

Caramelized Onions:

1 large red onion, cut in half and then cut in 1/4 inch slices
2 tablespoon grapeseed oil (or canola)
2 tablespoon butter

Heat a sauté pan over medium heat, add your oil and butter. When hot, add the onion. Cook over medium heat for 5 munites, stirring frequently. Turn down the heat to medium low and let the onions cook, stirring occasionally. If they start to burn, turn the heat down lower. Let them cook for 20-30 minutes until soft and golden.

Salad:

1 bag of Baby Greens
1/2 cup gorgonzola cheese
1/2 cup chopped walnuts (if you can find glazed walnuts use these)
4 tablespoons balsamic vinegar
6 tablespoons olive oil

In a large mixing bowl, add your lettuce, vinegar, olive oil (start with a little and add more if needed) and salt and pepper. Mix it well using your hands. Plate your salad. Sprinkle the cheese and nuts on top. Add your caramelized onions to each salad. Serve immediately. 

Print Recipe
Saturday, January 5, 2013

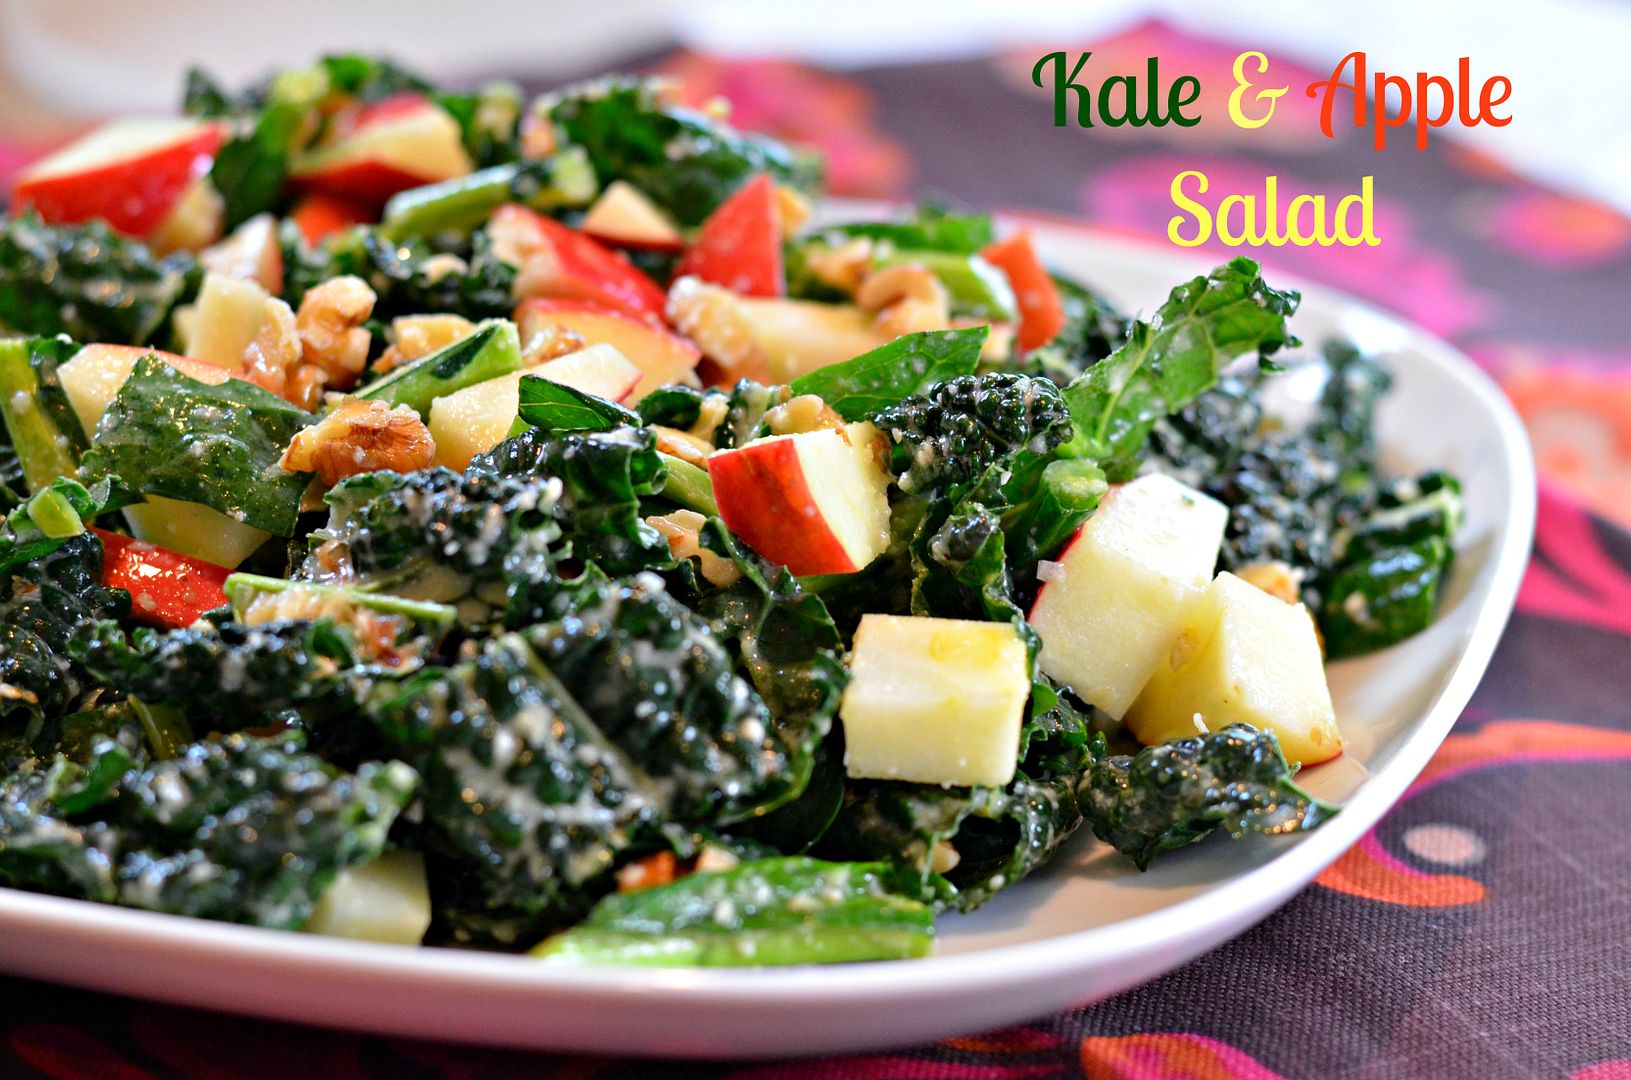
Kale and Apple Salad


I know, kale you say...seriously? And it's raw? Yes and you'll like it. I promise. Believe me, I didn't think I would like it either but it's really good. It's become one of my new favorite salads. I even tested it out on a few friends and they liked it. Give it a shot, I think you'll be surprised.

The key here is the salad dressing and the apple. The dressing adds a touch of tartness and the apple (I like Pink Lady) adds sweetness. Your mouth will tingle with delight at all the different flavors. 

How was your holiday? Mine was really relaxing and fun. We had some really good laughs, food and wine...and I learned how to make a really good dirty martini. I sound like a serious drinker but I'm not. I do like an occasional good drink or glass of wine. I got to spend some quality time with my family and seriously spoil my niece and nephew, who I'm crazy about. They are growing up to be such good little people...smart and caring.


I'm sure everyone feels the same way when they come back from the holidays...kind of sad that they're over and that it's back to business/work/life as it was. Not that it's that bad. We all have crap to deal with but it's easy to think we're the only one that dealing with something difficult. When you spend time with others though, you realize we all have challenges and difficulties that we're dealing with. It reassuring to know that I'm not the only one.


Anyway, I'm babbling. Happy New Year to you all and thanks for visiting our blog. I hope you have a wonderful, happy 2013. Now eat your kale!

Kale and Apple Salad

Salad Dressing:
1/4 of a large white or yellow onion, roughly chopped
1/4 cup parmesan cheese, grated
1/4 cup olive oil
1 teaspoon honey
1 lemon, juiced
1/2 teaspoon salt
1/4 teaspoon pepper

Salad:
1 bag of fresh chopped kale
2 Pink Lady apples, chopped in 1 inch cubes
1/2 cup raw walnuts

In a blender, add all the dressing ingredients and blend until smooth. Add kale to a large salad bowl and add dressing. Mix well to cover all the leaves. Add apple and walnuts, mix well. Let the salad sit for 10 minutes or more before serving to let the flavors mellow.